

Only available on the Enterprise planThis feature is only available on the Enterprise plan. Review our plans and pricing or sign up for our free expert-led trial today.
What a portal does and does not allow
- Uploads go straight into your bucket, which can be in your own cloud account or on-premise, so the data never has to live anywhere you do not control.
- The link is the credential. A portal URL contains an authentication token, and anyone holding it can upload. Treat it like a password, and rotate the token when the engagement ends or the link leaks. Rotating invalidates the old link immediately.
- Contributors can’t download files. The portal token allows uploading files and listing what is in the portal path. Downloading requires a JWT token from a member of the organization.
- Nothing can be deleted through the portal UI. A contributor who uploads the wrong file can’t remove it. To remove a file, use the Delete file from portal API.
- Uploads are matched by content hash. An identical file is skipped on re-upload, so you can safely retry an interrupted batch. A same-named file with different content overwrites the existing one, so a correction can be re-sent under its original name.
Configuring a storage bucket
Data is stored in cloud storage. For details on how to connect a cloud storage provider to Edge Impulse, refer to the Cloud data storage documentation.Creating an upload portal
With your storage bucket configured you’re ready to set up your first upload portal. In your organization go to Data > Upload portals and choose Create new upload portal. Here, select a name, a description, the storage bucket, and a path in the storage bucket.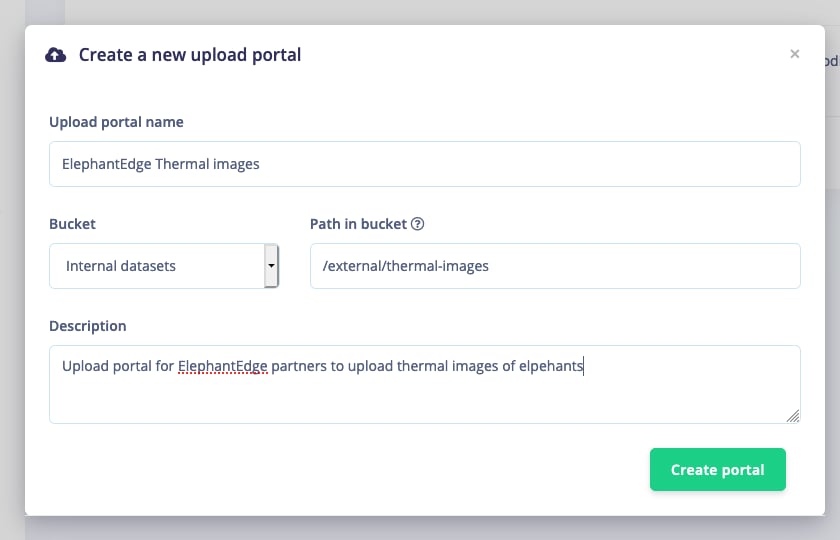
Creating an upload portal
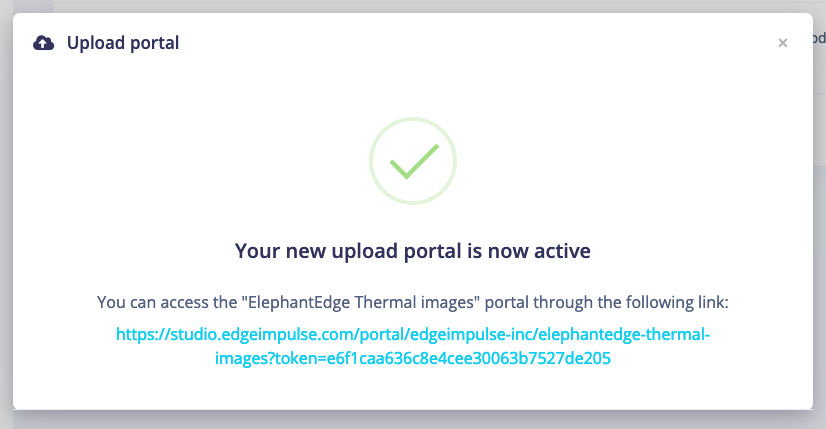
An active upload portal
⋮ next to your portal, and choose View portal.
Uploading data to the portal
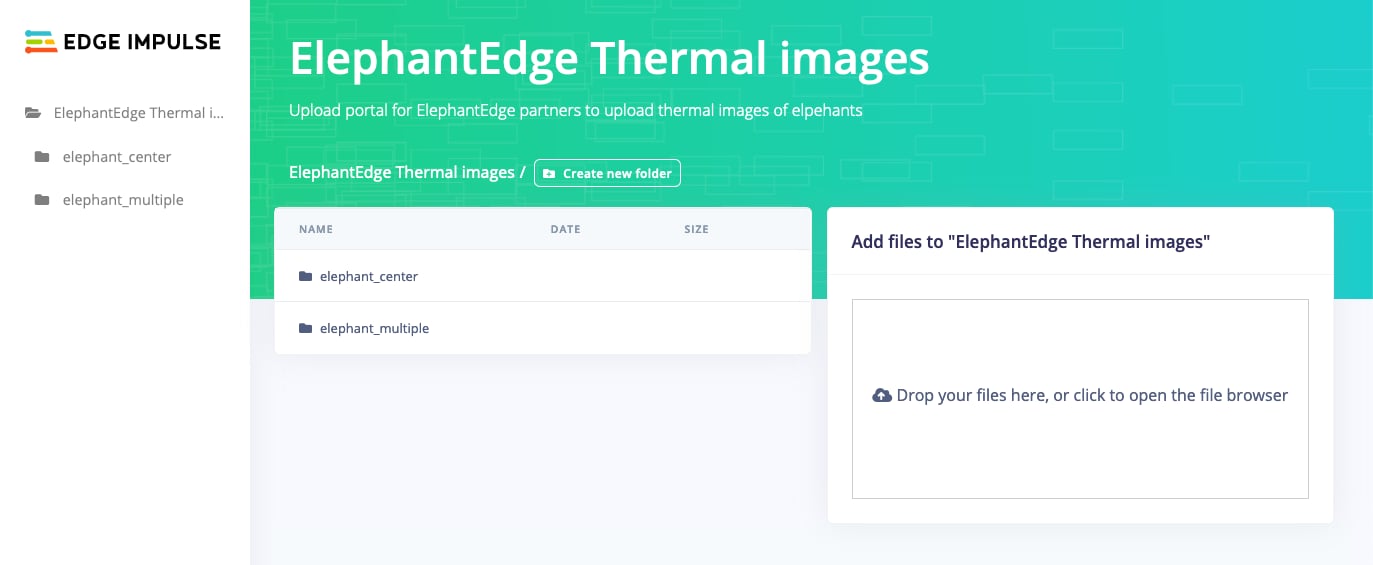
An upload portal with two folders.
Using a portal in transformation blocks and clinical pipelines
If you want to process data in a portal as part of a Clinical Pipeline you can either:- Mount the portal directly into a transformation block via Custom blocks > Transformation blocks > Edit block, and select the portal under mount points.
- Mount the bucket that the portal is in, as a transformation block. This will also give you access to all other data in the bucket, which is helpful for syncing other data (see Synchronizing clinical data).
Adding the data to your project
If the data in your portal is already in a format the ingestion service accepts, you can import it straight into a project. In your project, go to Data sources, select Upload portal, and follow the wizard. Because a data source runs on a schedule, this turns the portal into a continuous feed: a contributor uploads, and the next pipeline run pulls the new files into the project and can retrain on them.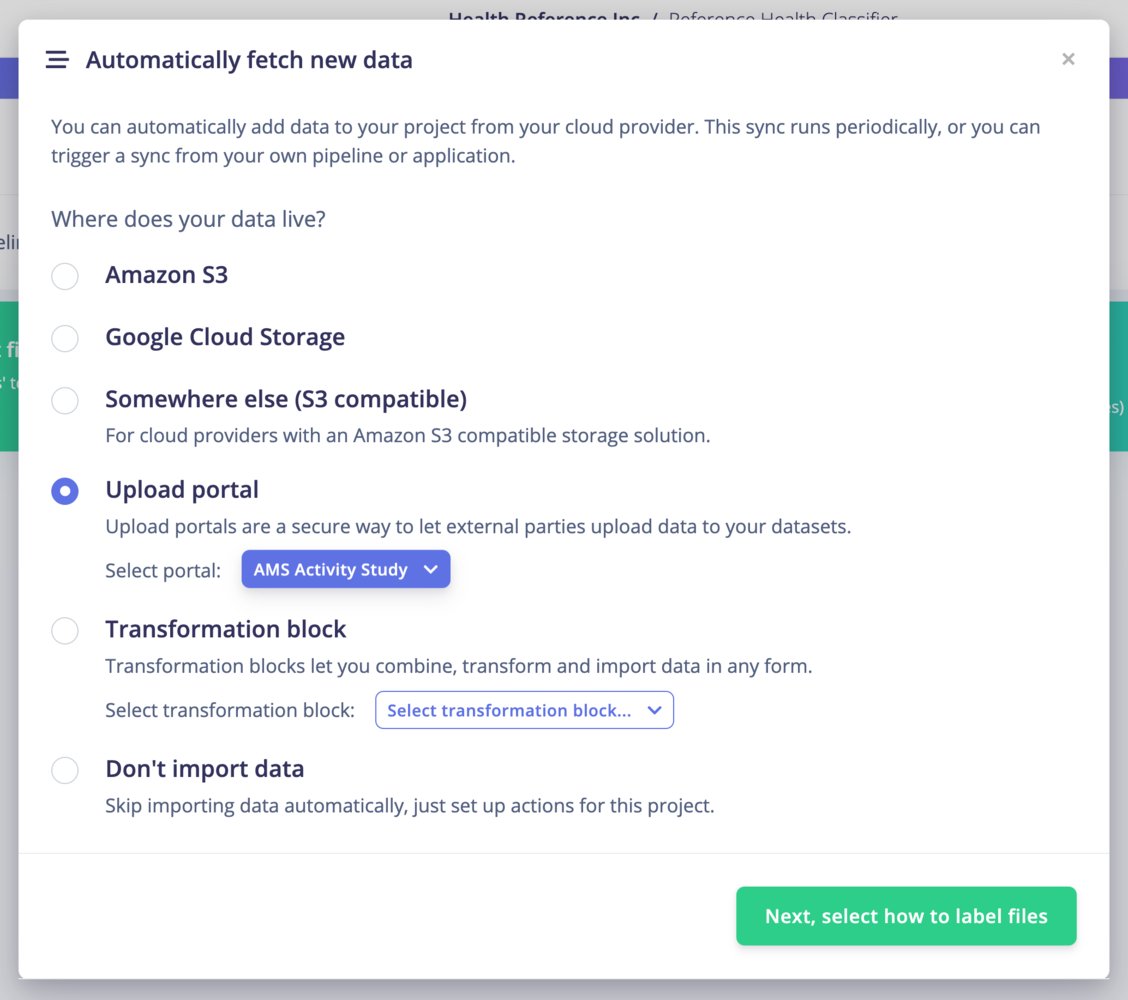
Data Sources - Upload portal method
API reference
Programmatic access to portals
Portals have their own endpoints, separate from the organization endpoints used to manage portals, and authenticate with the portal token rather than an organization key.
Uploading takes two steps: you ask Edge Impulse for a pre-signed link, then upload the file to that link directly. The file goes straight to your bucket without passing through Edge Impulse.
The script below shows the whole flow. Uploading and listing need only the portal token; downloading also needs a JWT token. Without one, the script only uploads and lists files.
Additional resources
- Organization data for how datasets map onto bucket paths
- Cloud data storage for connecting a bucket
- Data sources for importing portal data into a project on a schedule