

Only available on the Enterprise planThis feature is only available on the Enterprise plan. Review our plans and pricing or sign up for our free expert-led trial today.
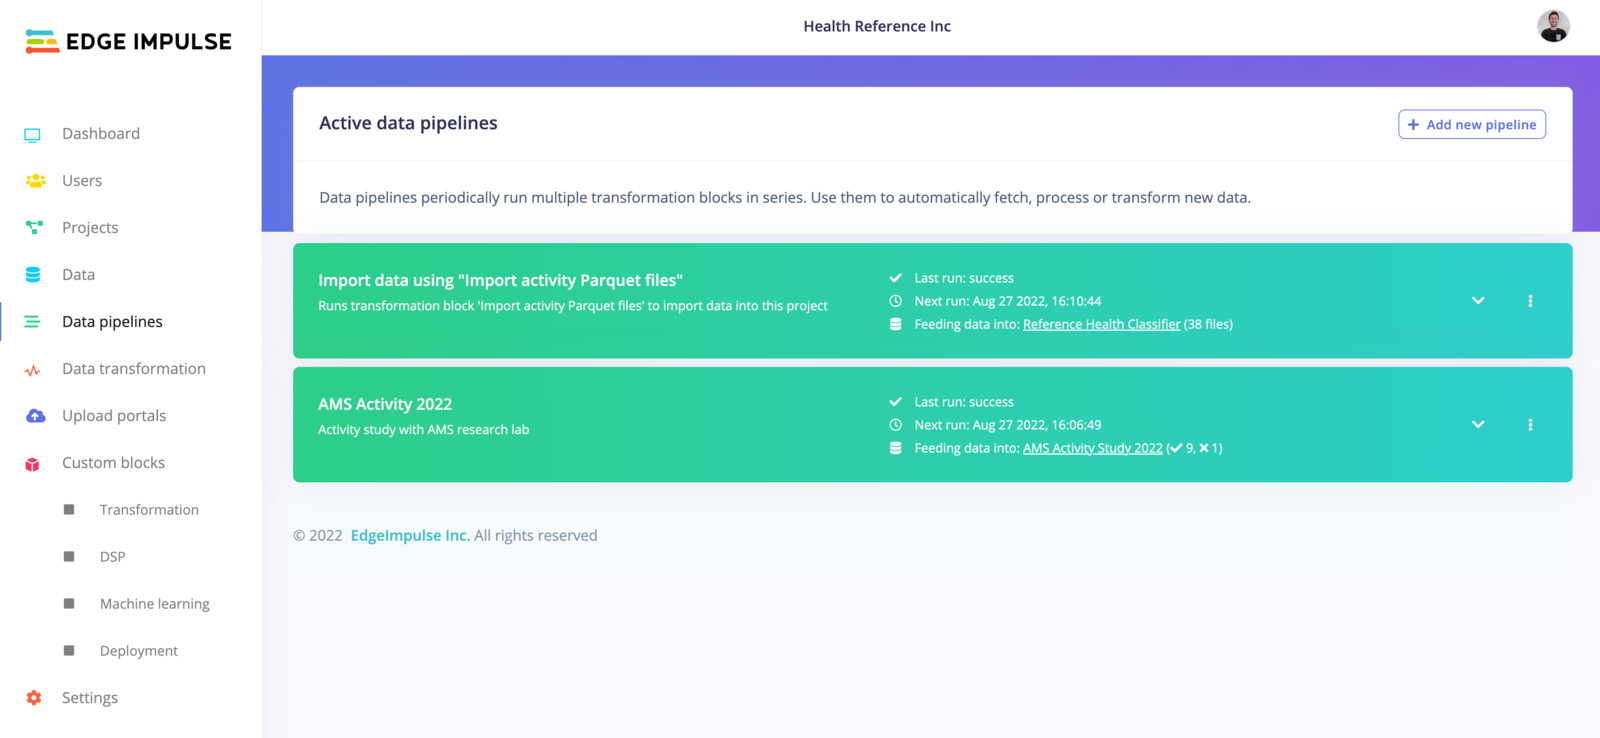
clinical data pipelines example
How a pipeline works
A pipeline is an ordered list of steps. Each step runs a transformation block as a job, in sequence, so a step operates on what the previous steps produced rather than on the original input. Each step is configured as JSON copied from the block. It sets the block to run, a filter for the data items, the block’s parameters, and how many transformations run in parallel. A pipeline can send its output to an organization dataset or to a project. It can also run standalone, where the steps run their jobs without writing output to either. When it feeds a project, the step also sets which category the data lands in (training, validation, testing, or an automatic split) and which label it gets, keeping a project’s dataset current without manual uploads. Each run records the status of every step. If the pipeline writes to a dataset, the run also shows how many items the dataset had before and after, and how many passed or failed the dataset checklist. Check these numbers to confirm that a scheduled run did its job.Create a pipeline
To create a new pipeline, click on ‘+Add a new pipeline: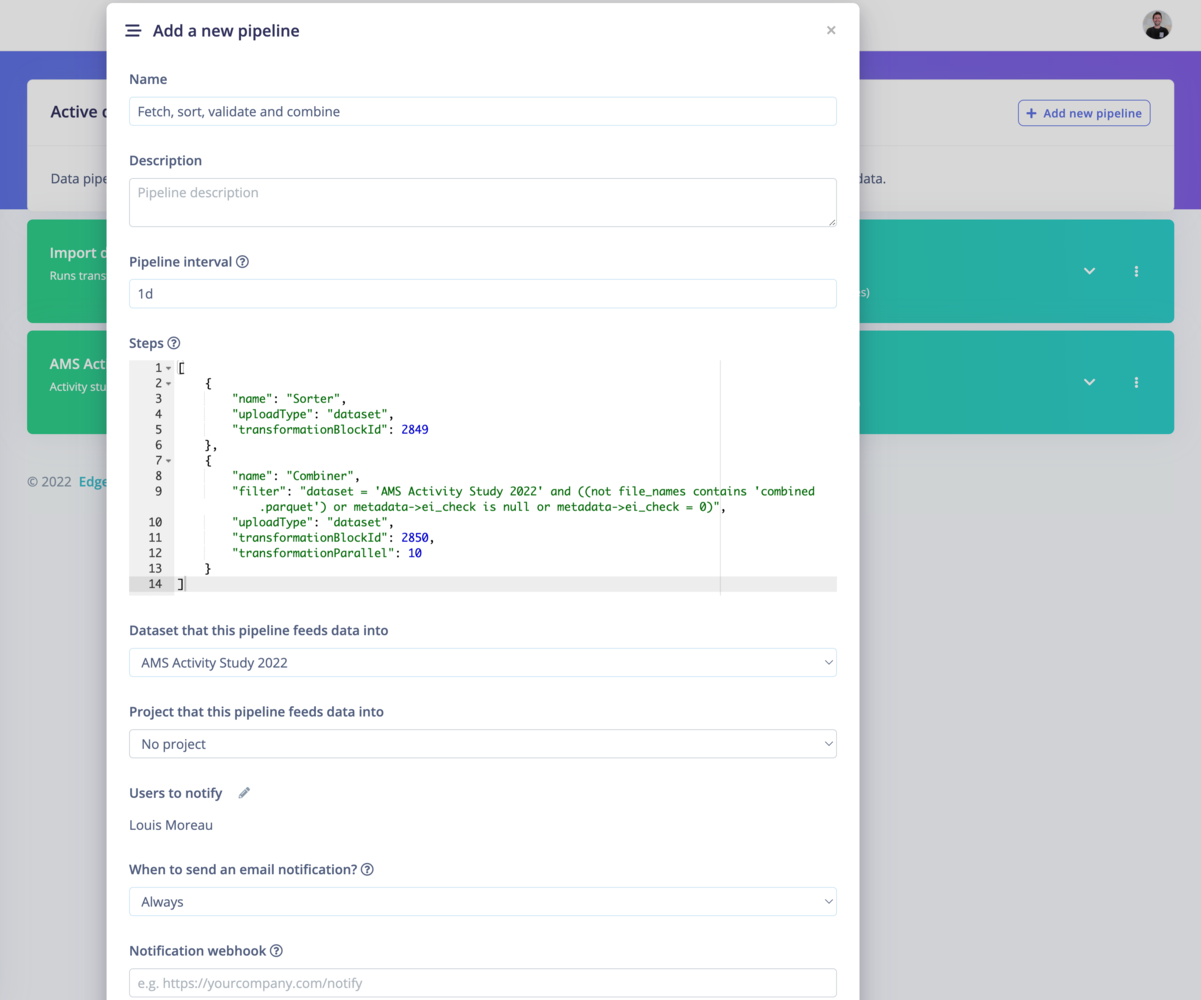
Add a new clinical data pipeline
Get the steps from your transformation blocks
In your organization workspace, go to Custom blocks -> Transformation and select Run job on the job you want to add.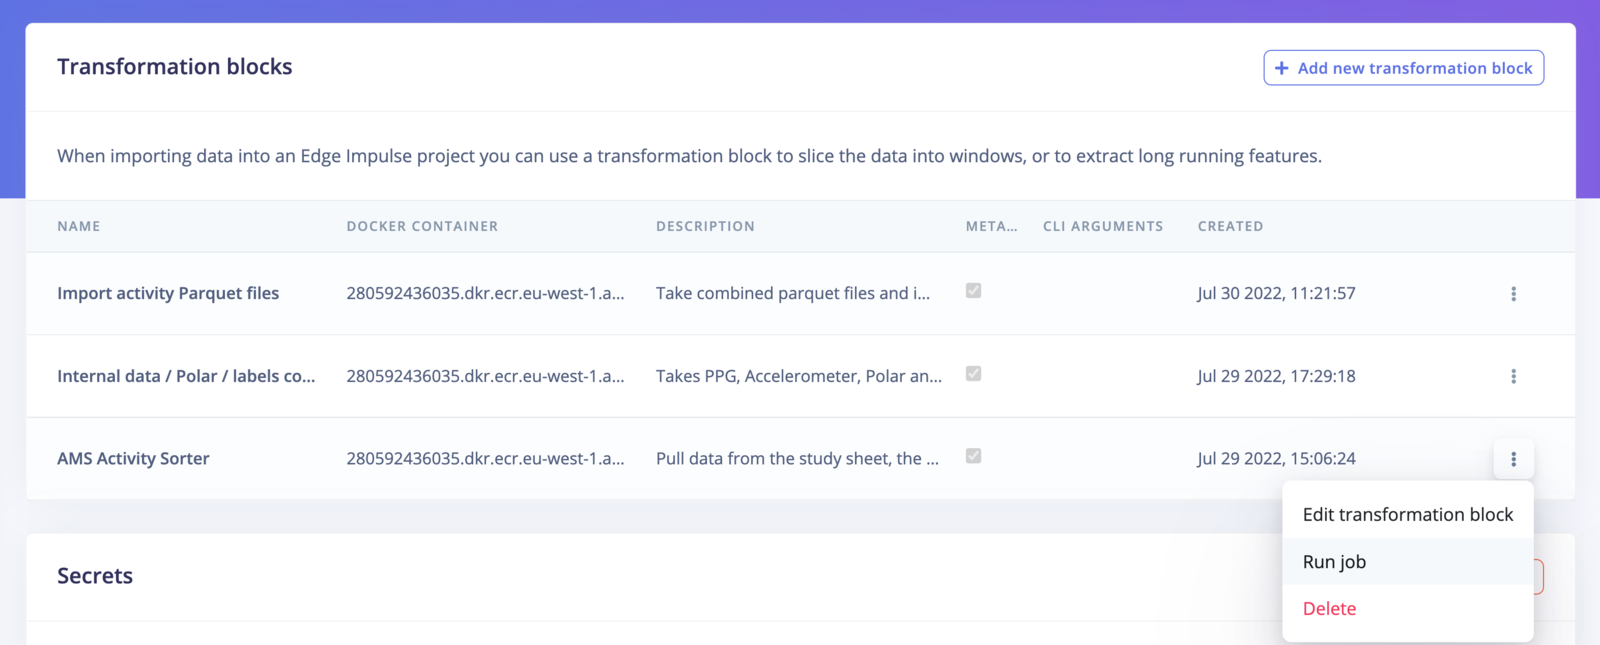
Transformation blocks
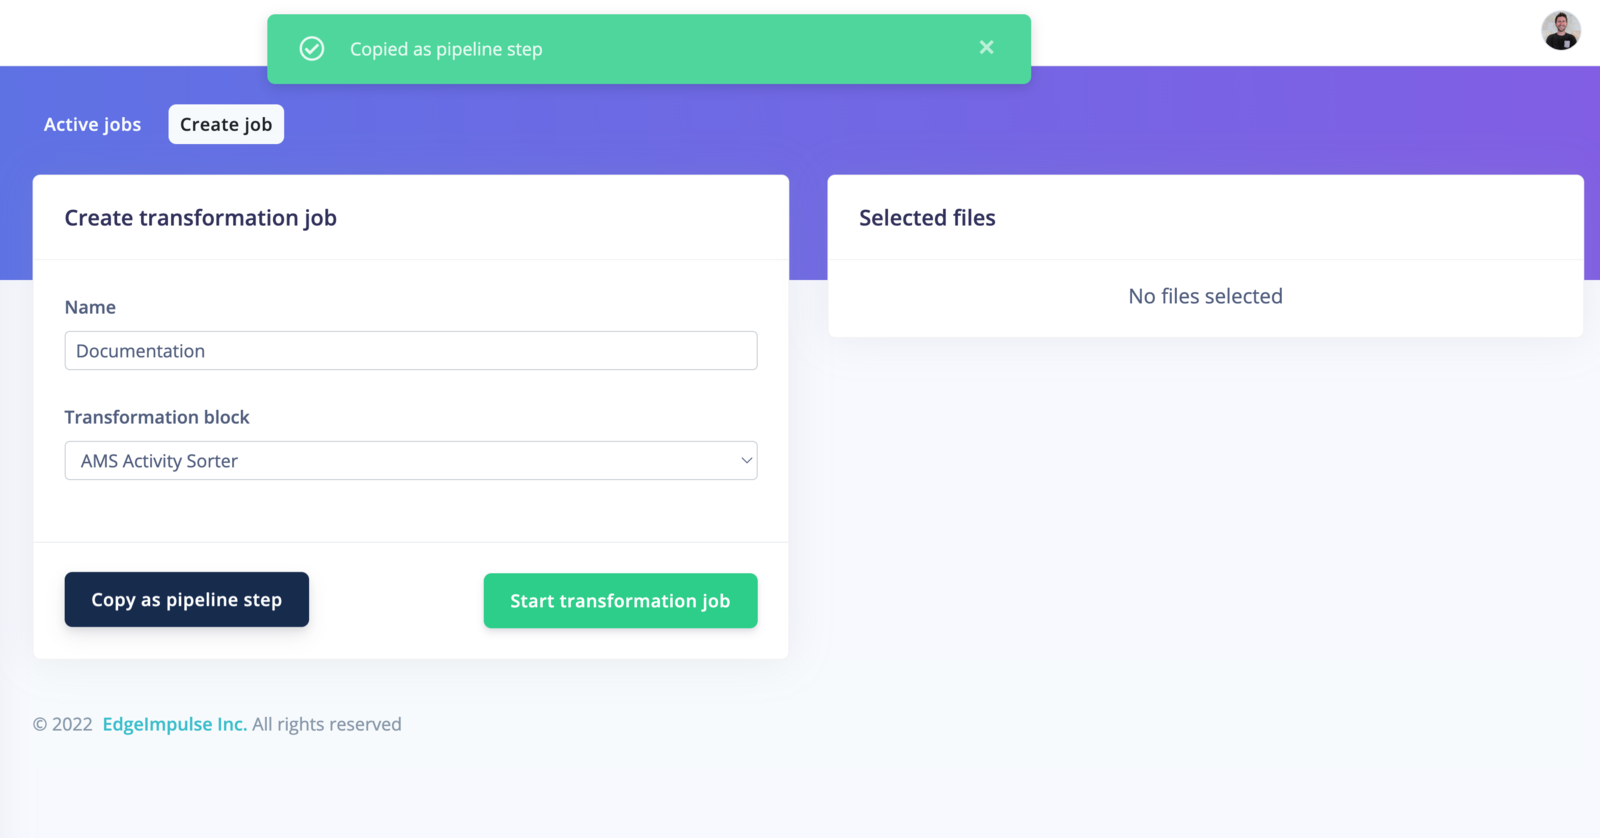
Copy
Schedule and notify
By default, your pipeline will run every day. To schedule your pipeline jobs, click on the⋮ button and select Edit pipeline.
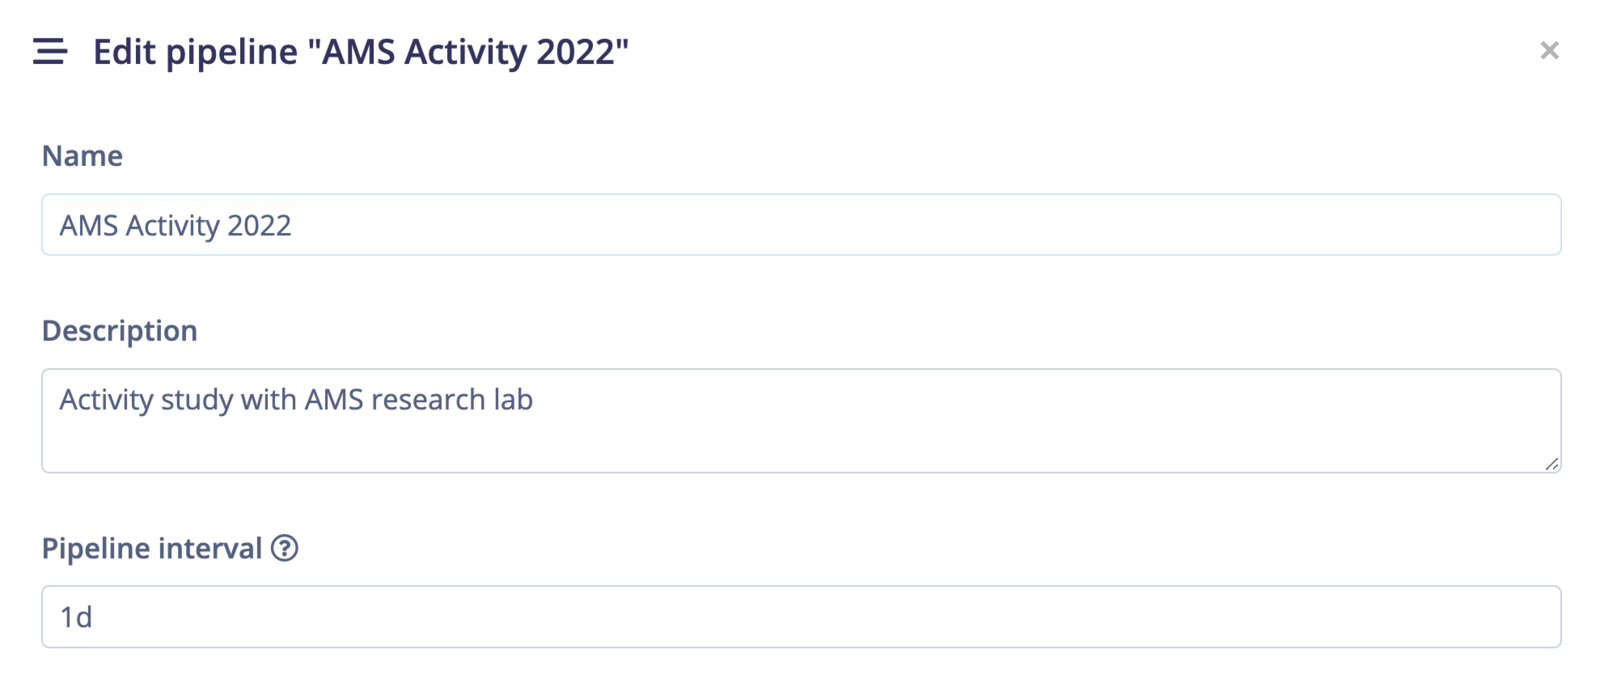
Edit pipeline
15m, 2h, or 1d. Match it to how often new data arrives.
Once the pipeline finishes, it can email the Users to notify after every run, only when a run brought in new data, or never.
Run the pipeline
Once your pipeline is set, you can run it directly from the UI, from external sources or by scheduling the task.Run the pipeline from the UI
To run your pipeline from Edge Impulse studio, click on the⋮ button and select Run pipeline now.
Run the pipeline from code
To run your pipeline from Edge Impulse studio, click on the⋮ button and select Run pipeline from code. This will display an overlay with curl, Node.js and Python code samples.
You will need to create an API key to run the pipeline from code.
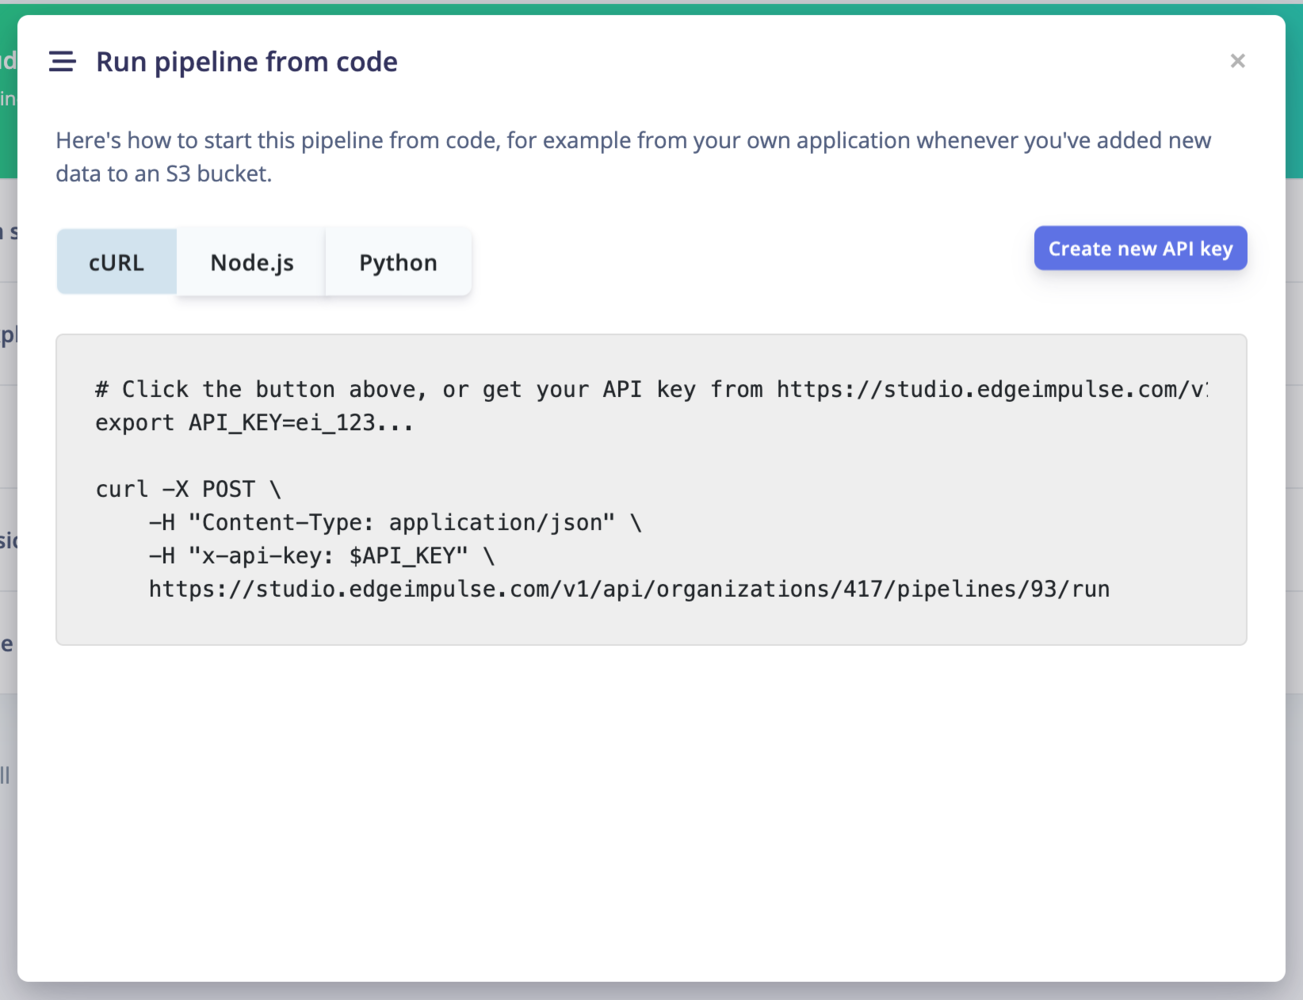
Run the pipeline from code
Webhooks
You can also create a webhook to call a URL when the pipeline has run. It will run a POST request containing the following information: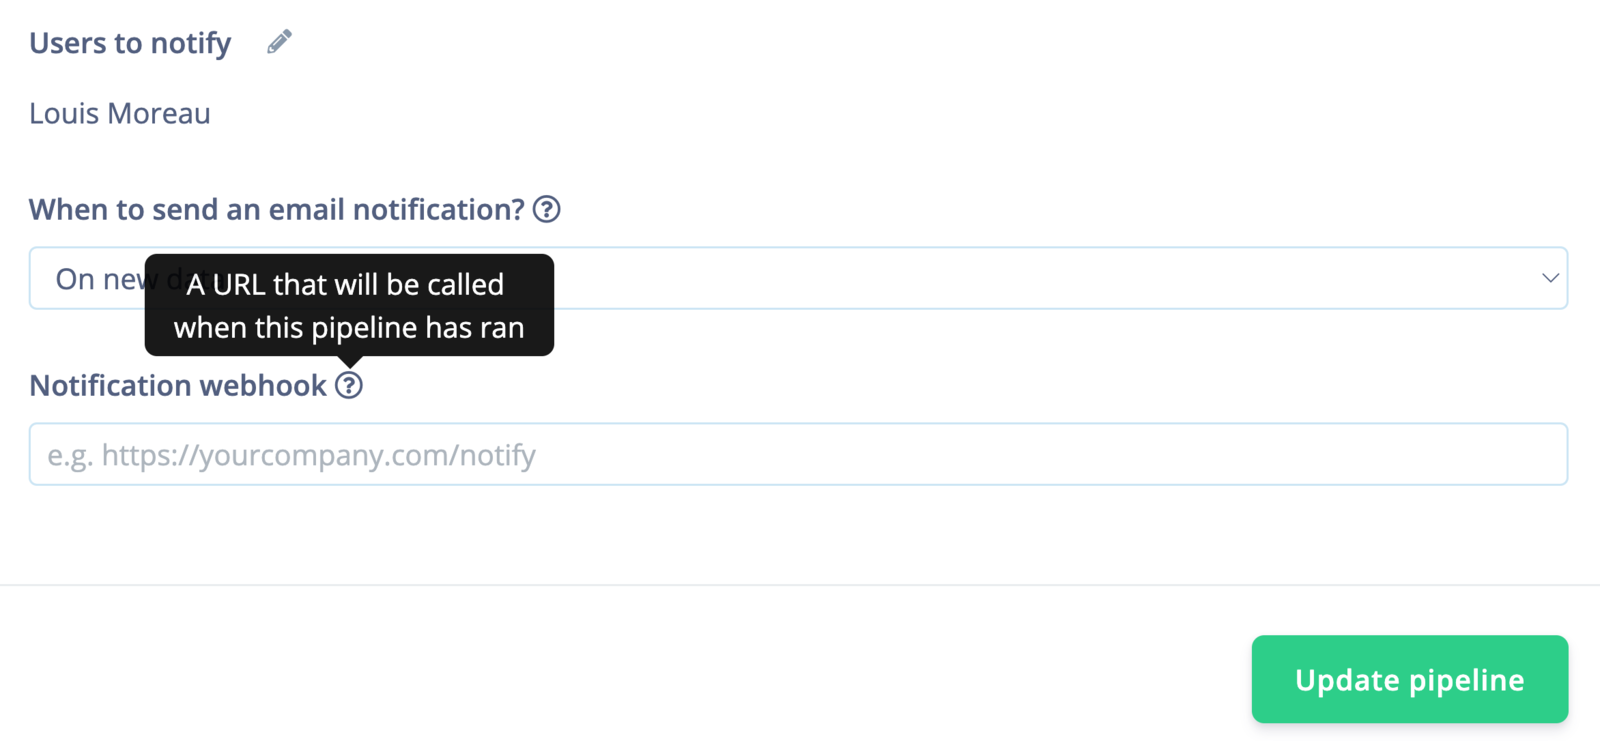
Data sources webhooks
success reports whether the run completed and newItems whether it changed anything. For checklist-backed datasets, newChecklistOK and newChecklistFail report how many new items passed validation.