> ## Documentation Index
> Fetch the complete documentation index at: https://docs.edgeimpulse.com/llms.txt
> Use this file to discover all available pages before exploring further.
# Arduino Machine Learning Tools
> Use Arduino Machine Learning Tools to create projects, deploy models, and share Edge Impulse workflows from Arduino Cloud.
Arduino and Edge Impulse have partnered to bring machine learning tools to all Arduino Cloud users with a branded and integrated experience.
The video below contains an example of the full workflow to train a keyword spotting and to run the model on the Arduino Nano 33 BLE Sense using Arduino ML Tools solution:
### SSO (Single Sign On)
**Arduino Pro users**
Arduino Pro users will benefit a 60-min per job limit instead of the default 20-min per job limit.
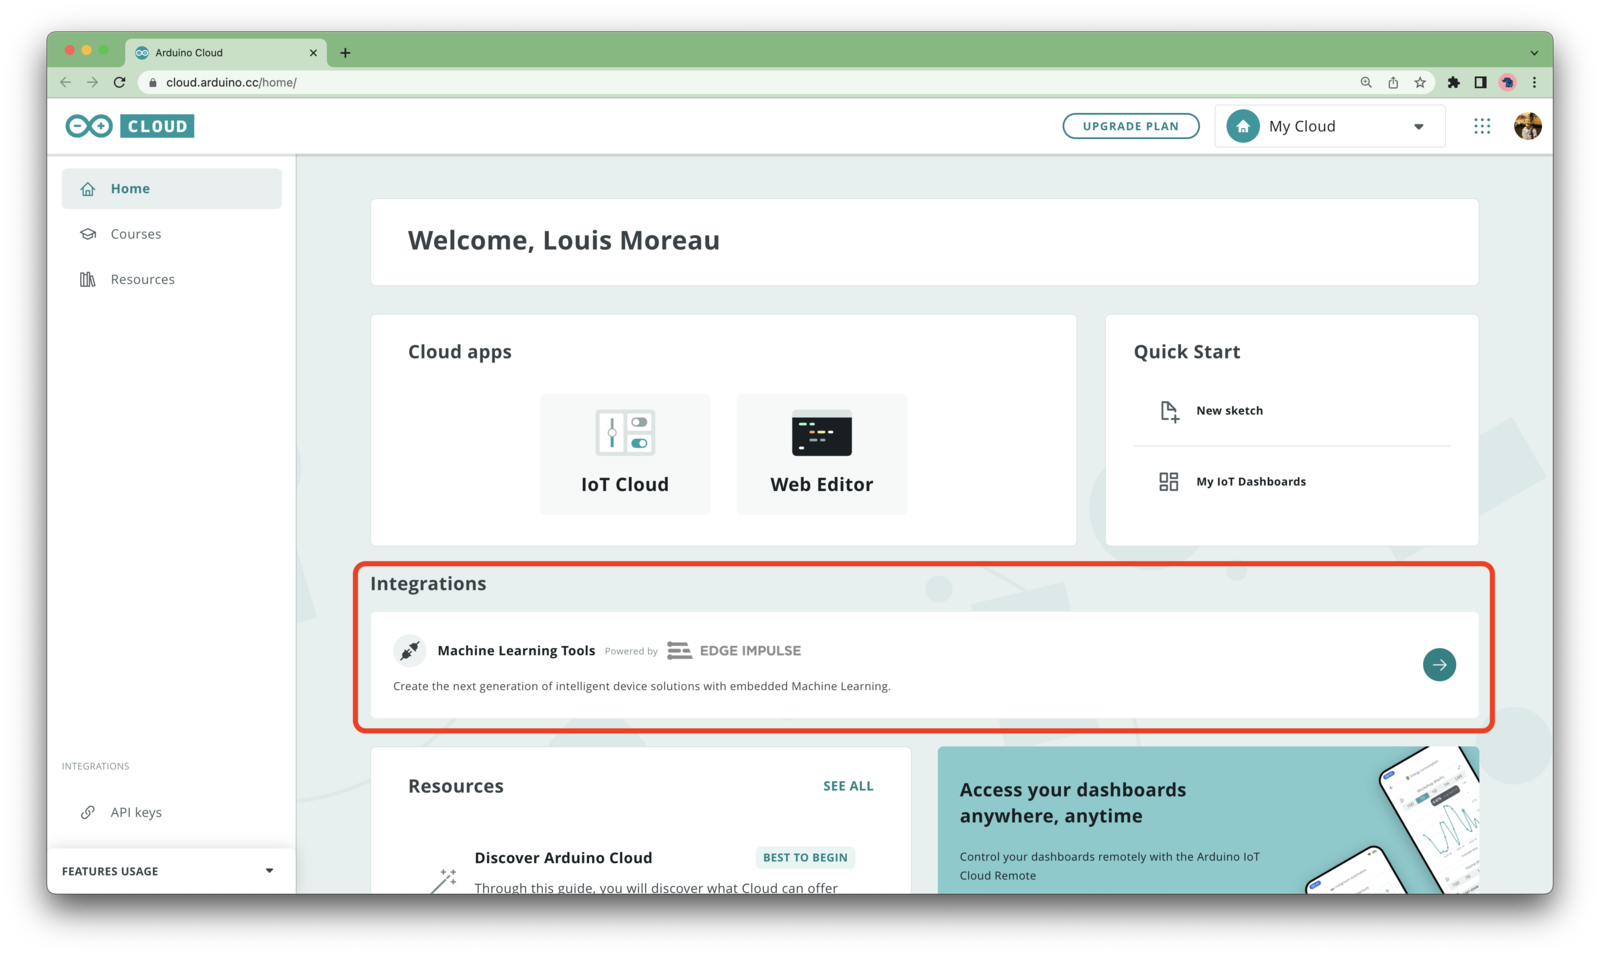
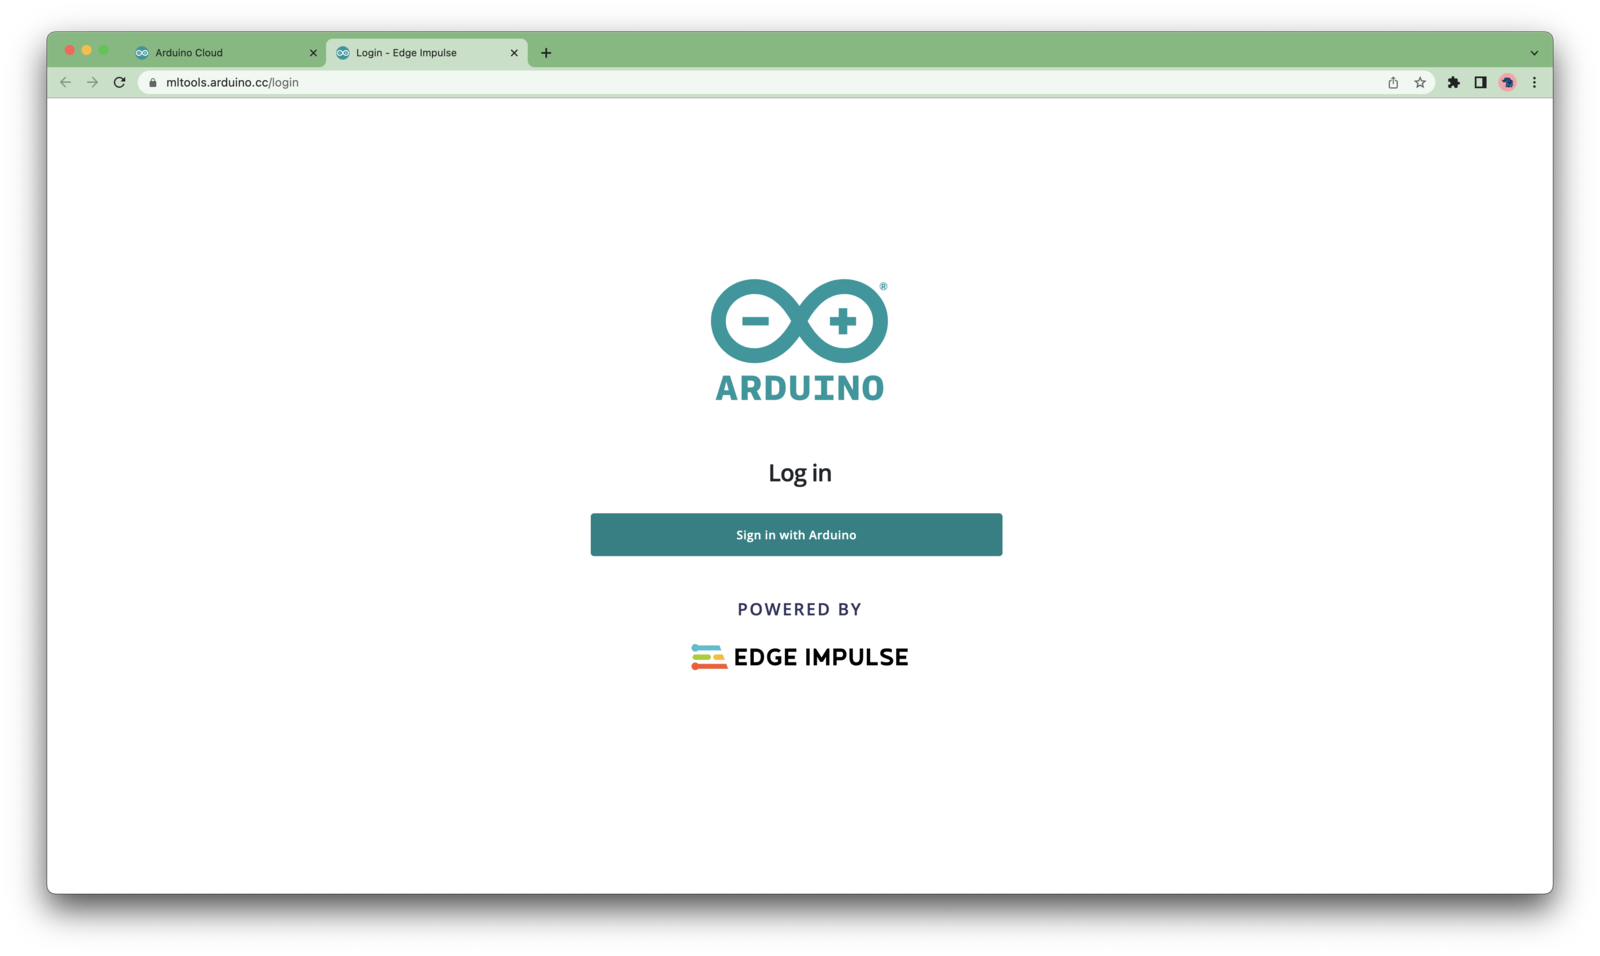
You can log in the ML Tools platform using your Arduino Cloud credentials. To access the Arduino Machine Learning Tools platform, either go to [cloud.arduino.cc](https://cloud.arduino.cc/home/) or [mltools.arduino.cc](https://mltools.arduino.cc).
 ### Create and build a machine learning project
To create a new project, click on your profile picture in the upper right corner and select **+ Create new project**.
### Create and build a machine learning project
To create a new project, click on your profile picture in the upper right corner and select **+ Create new project**.
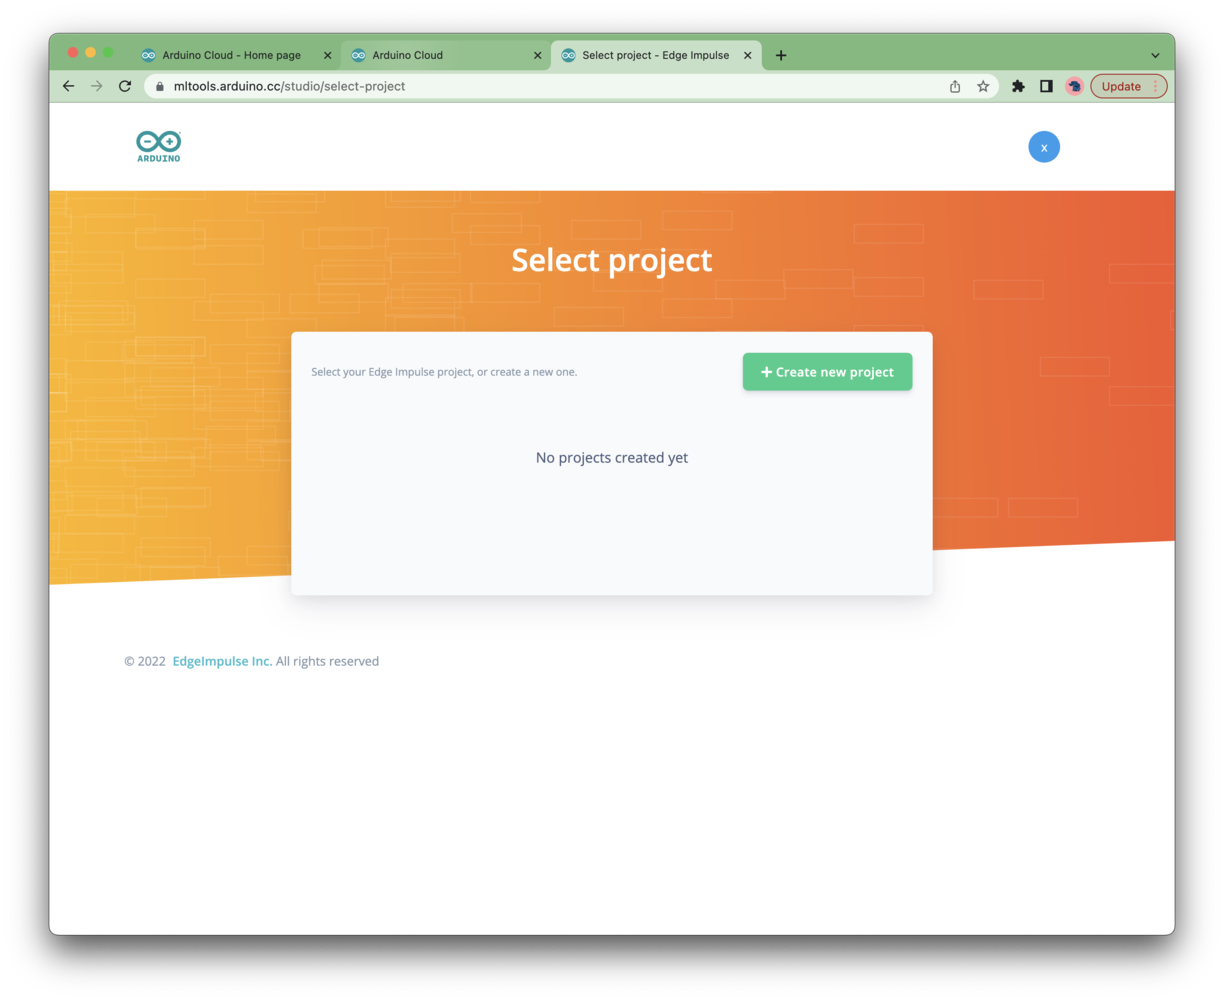 Once you create a project, select the project type you want to build using the helper. You will then arrive on your project's **Dashboard**:
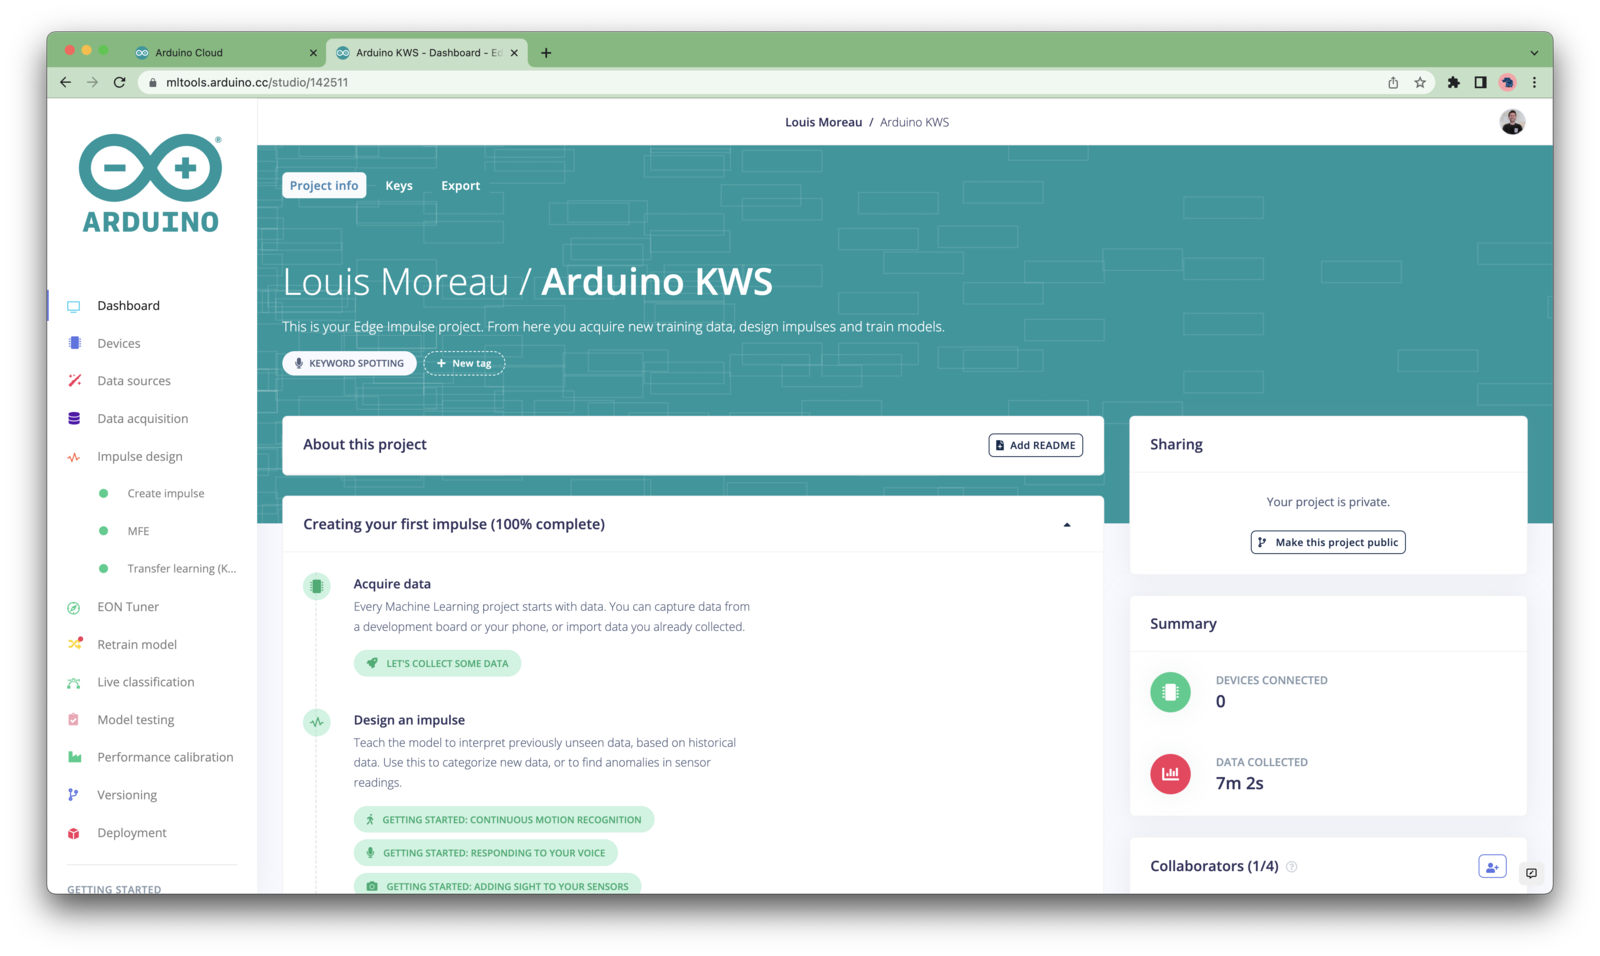 You can also select which board you are using on the **Project Info** card, in the bottom-right corner.
The following boards are supported in Arduino ML Tools:
* [Arduino Nano 33 BLE Sense](/hardware/boards/arduino-nano-33-ble-sense)
* [Arduino Nicla Vision](/hardware/boards/arduino-nicla-vision)
* [Arduino Portenta H7 + Vision Shield](/hardware/boards/arduino-portenta-h7)
* [Arduino Nicla Sense ME](/hardware/boards/arduino-nicla-sense-me)\*
\**(only using the ingestion sketch and arduino library deployment, latency calculations may not be available)*
With everything set up you can now build your first machine learning model with these tutorials:
* [Keyword spotting](/tutorials/end-to-end/keyword-spotting)
* [Sound recognition](/tutorials/end-to-end/sound-recognition)
* [Image classification](/tutorials/end-to-end/image-classification/)
* [object detection](/tutorials/end-to-end/object-detection-bounding-boxes).
* [Object detection with centroids (FOMO)](/tutorials/end-to-end/object-detection-centroids)
Looking to connect different sensors? The [Data forwarder](/tools/clis/edge-impulse-cli/data-forwarder) lets you easily send data from any sensor into Edge Impulse.
### Deployment
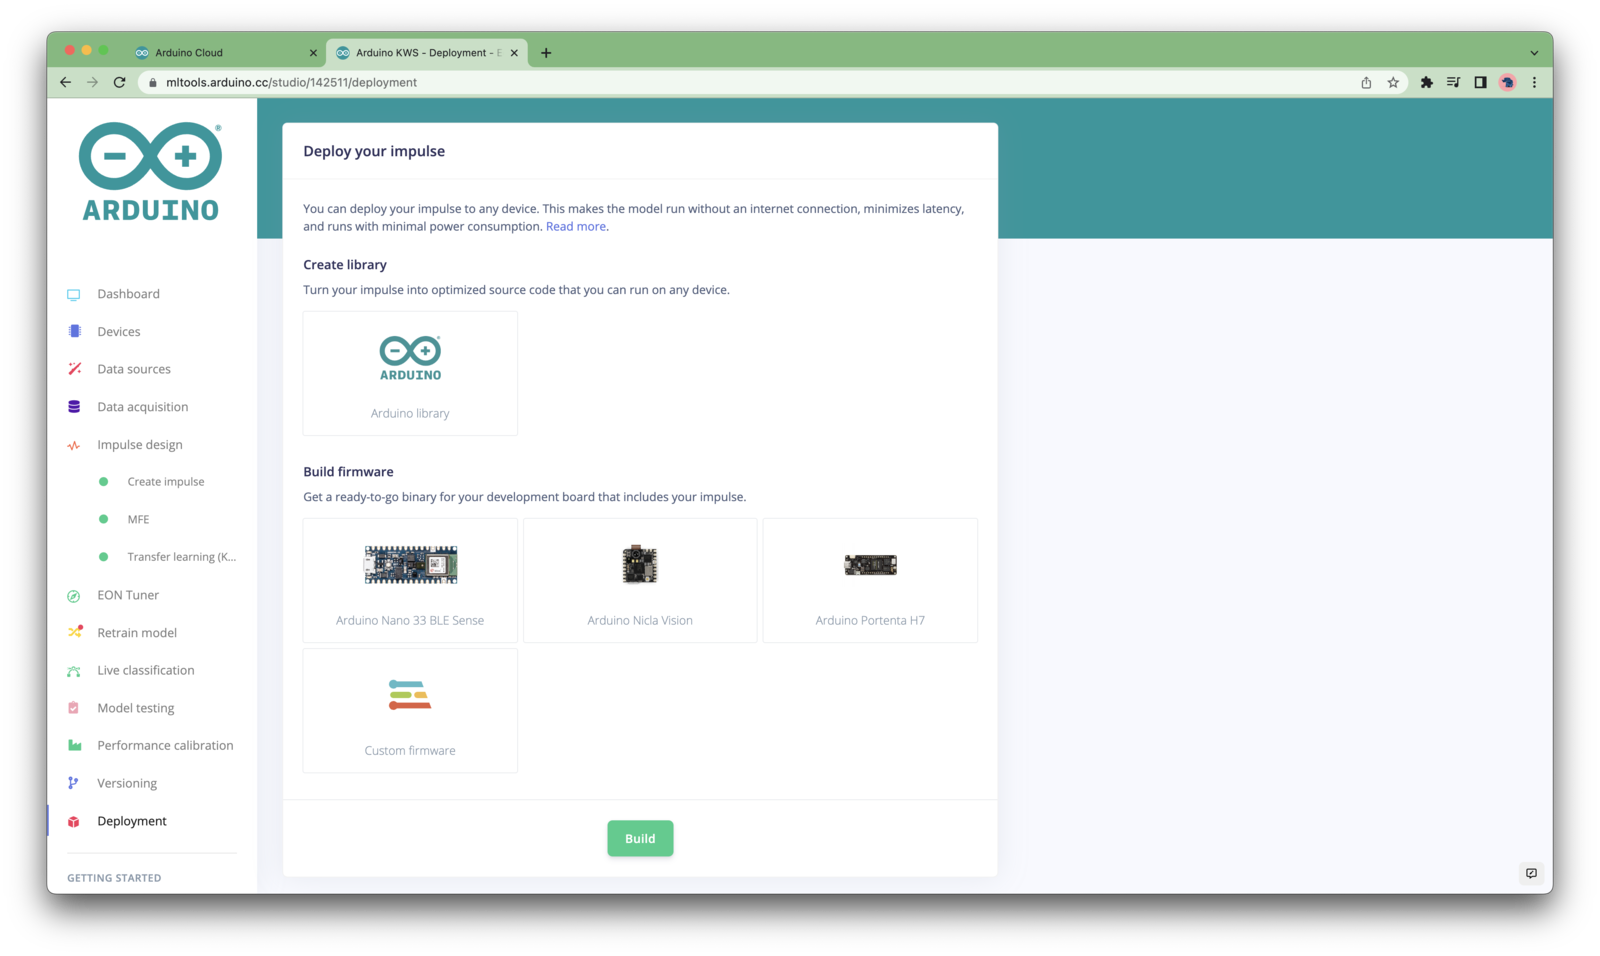
Once your project is ready, you can either download an [Arduino library](/hardware/deployments/run-arduino-2-0) or a [ready-to-use firmware](/hardware/deployments/run-ei-fw)
You can also select which board you are using on the **Project Info** card, in the bottom-right corner.
The following boards are supported in Arduino ML Tools:
* [Arduino Nano 33 BLE Sense](/hardware/boards/arduino-nano-33-ble-sense)
* [Arduino Nicla Vision](/hardware/boards/arduino-nicla-vision)
* [Arduino Portenta H7 + Vision Shield](/hardware/boards/arduino-portenta-h7)
* [Arduino Nicla Sense ME](/hardware/boards/arduino-nicla-sense-me)\*
\**(only using the ingestion sketch and arduino library deployment, latency calculations may not be available)*
With everything set up you can now build your first machine learning model with these tutorials:
* [Keyword spotting](/tutorials/end-to-end/keyword-spotting)
* [Sound recognition](/tutorials/end-to-end/sound-recognition)
* [Image classification](/tutorials/end-to-end/image-classification/)
* [object detection](/tutorials/end-to-end/object-detection-bounding-boxes).
* [Object detection with centroids (FOMO)](/tutorials/end-to-end/object-detection-centroids)
Looking to connect different sensors? The [Data forwarder](/tools/clis/edge-impulse-cli/data-forwarder) lets you easily send data from any sensor into Edge Impulse.
### Deployment
Once your project is ready, you can either download an [Arduino library](/hardware/deployments/run-arduino-2-0) or a [ready-to-use firmware](/hardware/deployments/run-ei-fw)
 ### Share your project
Once you are happy with the results, please share your project publicly and let everyone knows about it:
### Share your project
Once you are happy with the results, please share your project publicly and let everyone knows about it:
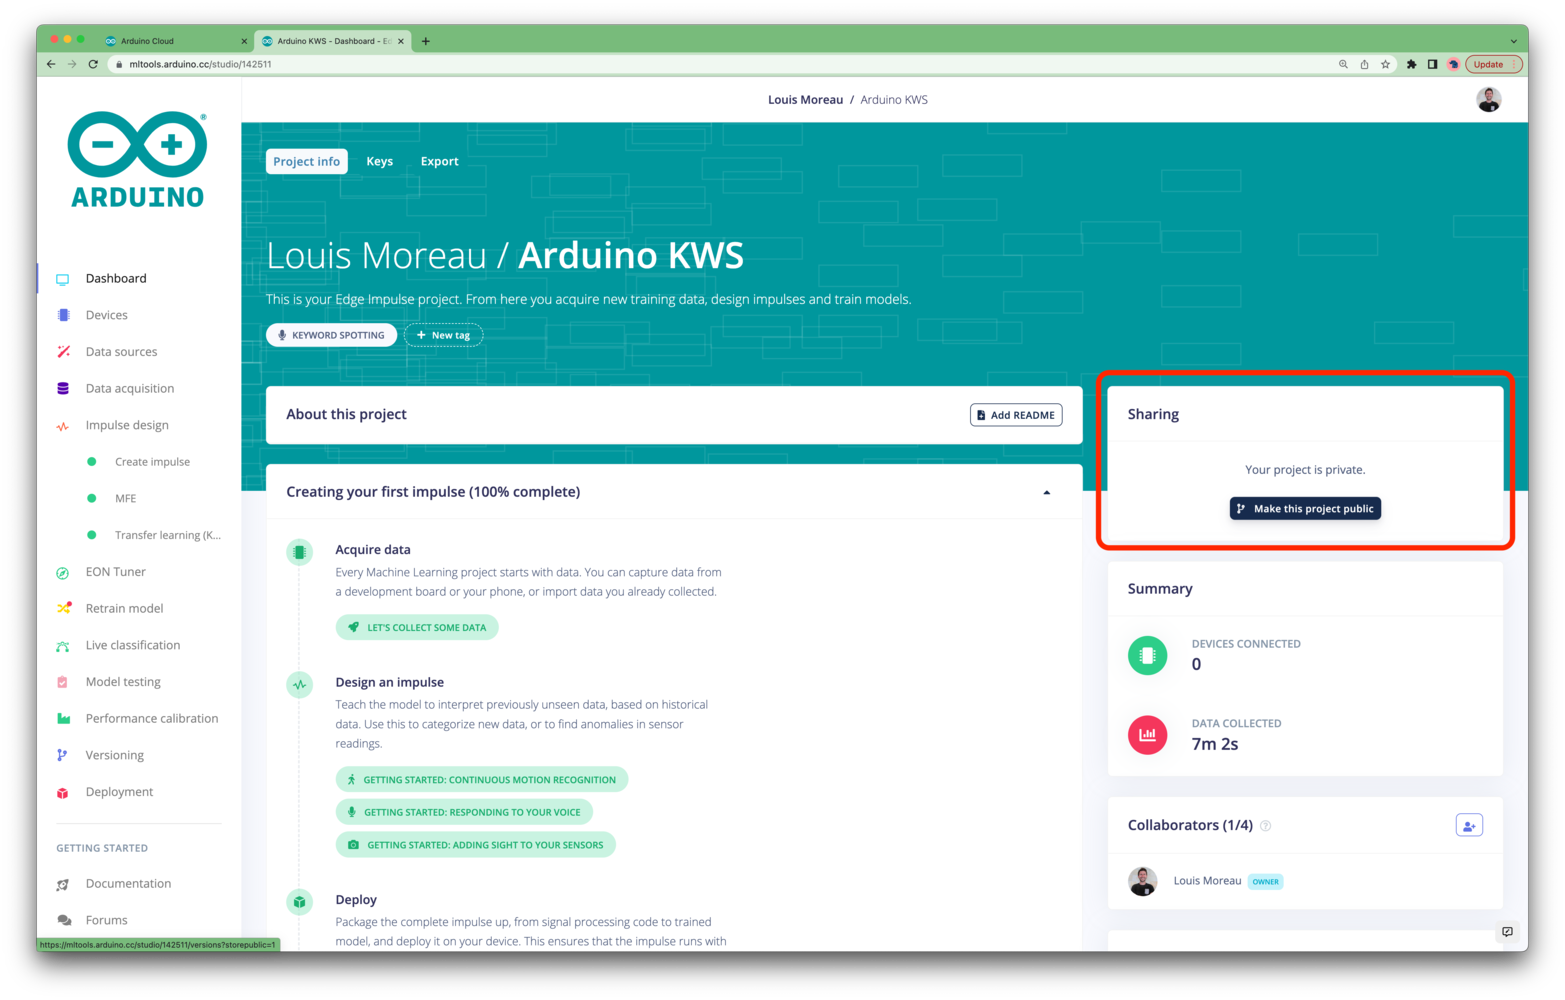 Here is an example of the public project made after from the video at the top of this page: [Arduino KWS public project](https://mltools.arduino.cc/public/142511/latest).
### Use the Edge Impulse CLI
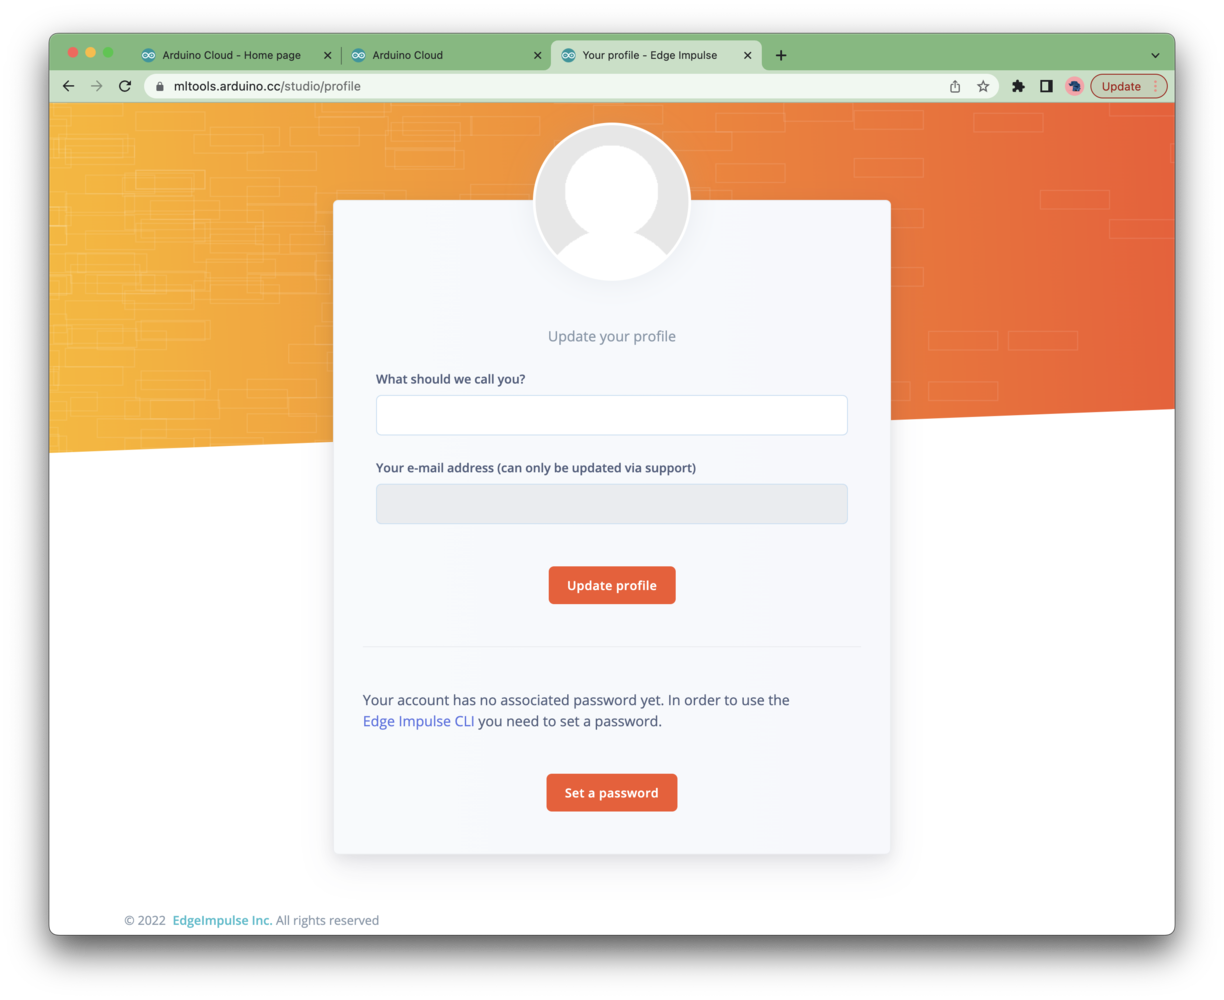
By default, no password is set for your user profile as you have logged using Arduino Cloud SSO. If you want to use [Edge Impulse CLI](/tools/clis/edge-impulse-cli), you need to set a password. To do so, click on **Your profile** from the upper-right corner menu:
Here is an example of the public project made after from the video at the top of this page: [Arduino KWS public project](https://mltools.arduino.cc/public/142511/latest).
### Use the Edge Impulse CLI
By default, no password is set for your user profile as you have logged using Arduino Cloud SSO. If you want to use [Edge Impulse CLI](/tools/clis/edge-impulse-cli), you need to set a password. To do so, click on **Your profile** from the upper-right corner menu: