> ## Documentation Index
> Fetch the complete documentation index at: https://docs.edgeimpulse.com/llms.txt
> Use this file to discover all available pages before exploring further.
# Run OpenMV library
> Export an impulse as an OpenMV library and run it on compatible camera boards.
Impulses can be deployed as an optimized OpenMV library. This packages all your signal processing blocks, configuration and learning blocks up into a single package. You can include this package in your own application to run the impulse locally. In this tutorial, you'll export an impulse and run the application on one of the OpenMV compatible boards.
## Prerequisites
Make sure you followed either the [Image classification](/tutorials/end-to-end/image-classification/) or the [FOMO: Object detection for constrained devices](/studio/projects/learning-blocks/blocks/object-detection/fomo) tutorials, have a trained impulse, and have installed the **latest** [**OpenMV IDE v5.0.0**](https://openmv.io/pages/download) **or above**.
## Compatible camera boards
* OpenMV Cam M7
* OpenMV Cam H7
* [OpenMV Cam H7 Plus](/hardware/boards/openmv-cam-h7-plus)
* OpenMV Pure Thermal
* [Arduino Portenta H7 + Vision shield](/hardware/boards/arduino-portenta-h7)
* Arduino Nicla Vision
* OpenMV Cam RT1062
* OpenMV N6
## Deploying your impulse to an OpenMV device
Head over to your Edge Impulse project, and go to **Deployment**. From here you can create the full library which contains the impulse and all external required libraries. Select **OpenMV library** and click **Build** to create the library. Then download and extract the .zip file.
Choose one of the following methods to upload the model and labels to your device.
### 1. Upload to SD Card
This method works for **small image classification / object detection models**. Models loaded from the SD card are copied into RAM, so the device needs enough memory for both the model file and inference.
Insert an SD card into your OpenMV camera and connect it to your computer. Copy `ei-model.tflite` and `ei-model.txt` to the root of the SD card on the **OpenMV Cam** volume, as you would copy files to a USB drive. The model is available on the device at `/sdcard/ei-model.tflite`.
Next, run the script for your model as described in **Running the example scripts** below.
 ### 2. Upload to ROM file system
On boards with ROMFS support, you can store the model and labels in the read-only file system mounted at `/rom`. The model's weights stay in flash instead of being copied into RAM, leaving more RAM available for inference. The model still needs RAM for its intermediate tensors.
1. Connect your camera to the OpenMV IDE.
2. Select **Tools > ROM File System > Edit ROMFS on OpenMV Cam** to open the camera's ROM file system.
3. Add `ei-model.tflite` and `ei-model.txt` to the root of the ROM file system. Check the usage readout to confirm that the files fit in the board's ROMFS partition.
4. Click **Commit** and choose to write the updated ROM file system back to the camera.
5. Set `MODEL_FROM_ROMFS = True` in the example script for your model, then run it as described in **Running the example scripts** below. For your own inference script, use the model path `/rom/ei-model.tflite`.
The `ml.Model` constructor automatically loads labels from `ei-model.txt` when it is in the same directory as `ei-model.tflite`. Keep any post-processing required by your model in your inference script.
See OpenMV's [ROM file system editor guide](https://docs.openmv.io/v5.0.0/openmvcam/tutorial/tools/ide/romfs.html) and [machine learning documentation](https://docs.openmv.io/v5.0.0/openmvcam/tutorial/ml/index.html) for more details.
## Running the example scripts
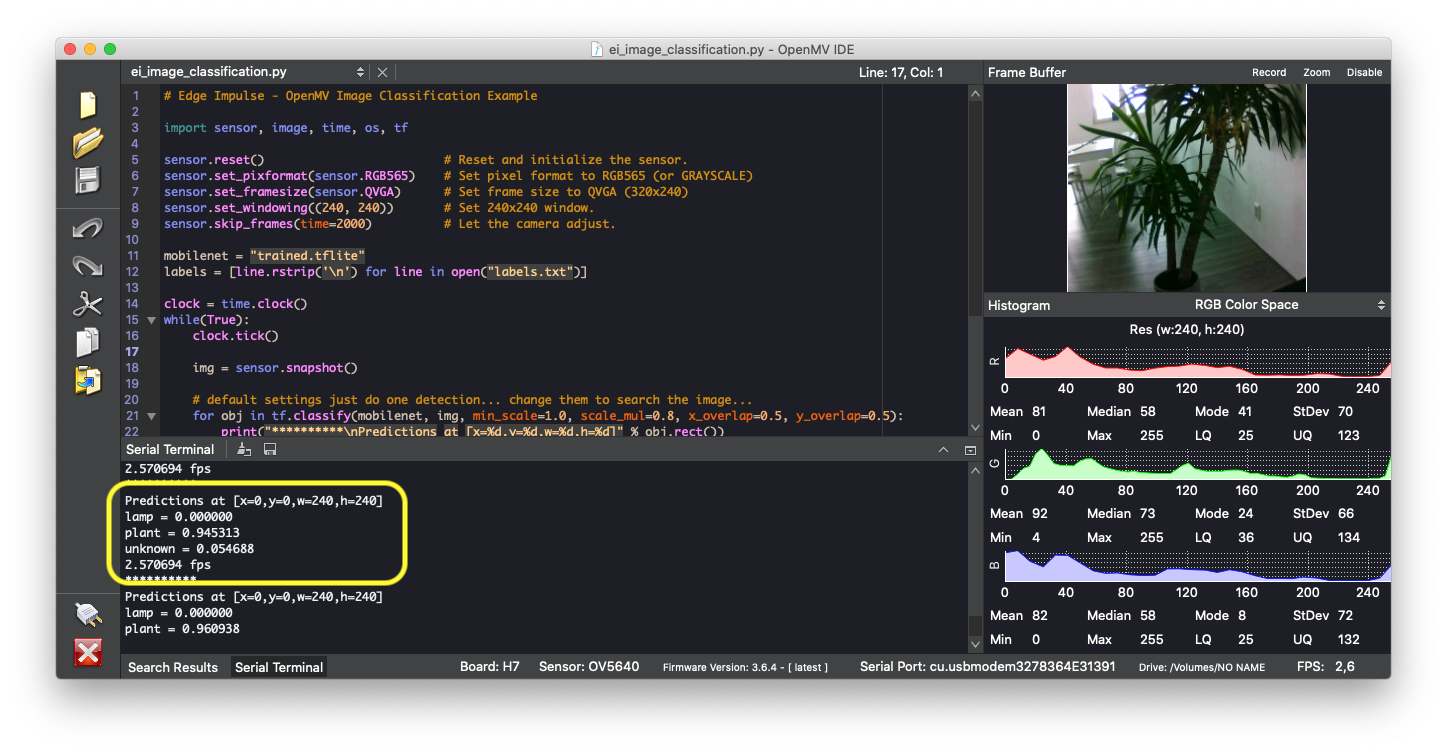
After uploading `ei-model.tflite` and `ei-model.txt`, open the script from the deployed folder in the OpenMV IDE. Depending on the model architecture, 1 of these should be included:
| Model type | Script | Output |
| - | - | - |
| Image classification | `ei_image_classification.py` | Prints the highest-scoring label and its confidence. |
| FOMO object detection | `ei_fomo_object_detection.py` | Draws circles at detected object centers and prints their coordinates and scores. |
| YOLO-Pro object detection | `ei_yolopro_object_detection.py` | Draws labeled bounding boxes around detected objects. |
Leave `MODEL_FROM_ROMFS = False` to load the files from the SD card, or set it to `True` to load them from `/rom`. Connect your camera in the IDE and click **Play**. View printed results in the serial terminal and detection overlays in the frame buffer viewer. For either object detection script, adjust `threshold=0.4` in the active model-loading branch to change the minimum detection confidence.
## Deploying your impulse as an OpenMV firmware
OpenMV firmware deployments are deprecated. Use the **Upload to ROM file system** method described above to upload your model to internal FLASH.
## Troubleshooting
### Only quantized (int8) models are supported
### 2. Upload to ROM file system
On boards with ROMFS support, you can store the model and labels in the read-only file system mounted at `/rom`. The model's weights stay in flash instead of being copied into RAM, leaving more RAM available for inference. The model still needs RAM for its intermediate tensors.
1. Connect your camera to the OpenMV IDE.
2. Select **Tools > ROM File System > Edit ROMFS on OpenMV Cam** to open the camera's ROM file system.
3. Add `ei-model.tflite` and `ei-model.txt` to the root of the ROM file system. Check the usage readout to confirm that the files fit in the board's ROMFS partition.
4. Click **Commit** and choose to write the updated ROM file system back to the camera.
5. Set `MODEL_FROM_ROMFS = True` in the example script for your model, then run it as described in **Running the example scripts** below. For your own inference script, use the model path `/rom/ei-model.tflite`.
The `ml.Model` constructor automatically loads labels from `ei-model.txt` when it is in the same directory as `ei-model.tflite`. Keep any post-processing required by your model in your inference script.
See OpenMV's [ROM file system editor guide](https://docs.openmv.io/v5.0.0/openmvcam/tutorial/tools/ide/romfs.html) and [machine learning documentation](https://docs.openmv.io/v5.0.0/openmvcam/tutorial/ml/index.html) for more details.
## Running the example scripts
After uploading `ei-model.tflite` and `ei-model.txt`, open the script from the deployed folder in the OpenMV IDE. Depending on the model architecture, 1 of these should be included:
| Model type | Script | Output |
| - | - | - |
| Image classification | `ei_image_classification.py` | Prints the highest-scoring label and its confidence. |
| FOMO object detection | `ei_fomo_object_detection.py` | Draws circles at detected object centers and prints their coordinates and scores. |
| YOLO-Pro object detection | `ei_yolopro_object_detection.py` | Draws labeled bounding boxes around detected objects. |
Leave `MODEL_FROM_ROMFS = False` to load the files from the SD card, or set it to `True` to load them from `/rom`. Connect your camera in the IDE and click **Play**. View printed results in the serial terminal and detection overlays in the frame buffer viewer. For either object detection script, adjust `threshold=0.4` in the active model-loading branch to change the minimum detection confidence.
## Deploying your impulse as an OpenMV firmware
OpenMV firmware deployments are deprecated. Use the **Upload to ROM file system** method described above to upload your model to internal FLASH.
## Troubleshooting
### Only quantized (int8) models are supported
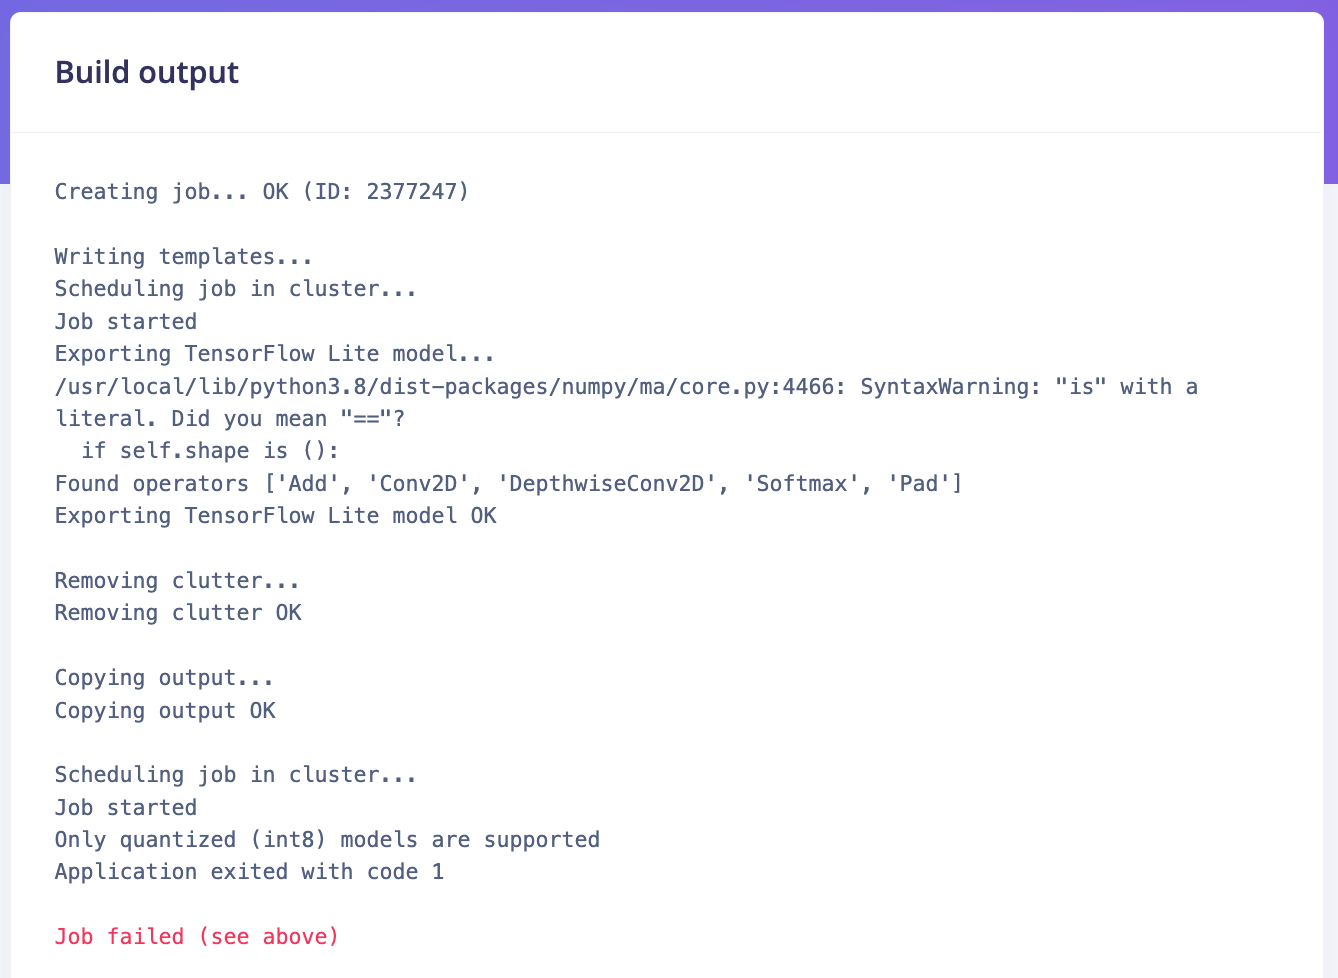 OpenMV only supports quantized (int8) models.
### RuntimeError: Sensor control failed.
OpenMV only supports quantized (int8) models.
### RuntimeError: Sensor control failed.
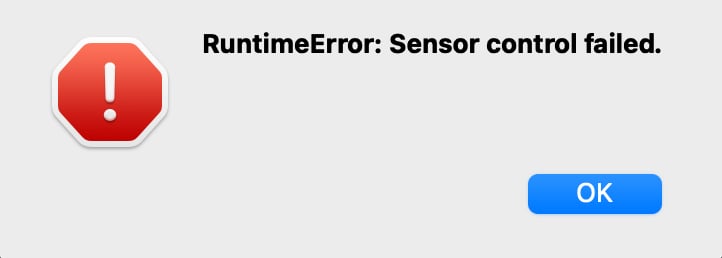 The Arduino Portenta only supports greyscale images, change:
```python theme={"system"}
sensor.set_pixformat(sensor.RGB565)
```
to
```python theme={"system"}
sensor.set_pixformat(sensor.GRAYSCALE)
```
The Arduino Portenta only supports greyscale images, change:
```python theme={"system"}
sensor.set_pixformat(sensor.RGB565)
```
to
```python theme={"system"}
sensor.set_pixformat(sensor.GRAYSCALE)
```