> ## Documentation Index
> Fetch the complete documentation index at: https://docs.edgeimpulse.com/llms.txt
> Use this file to discover all available pages before exploring further.
# Ambiq Apollo4 evaluation boards
> Set up Ambiq Apollo4 evaluation boards for audio and image data collection, training, testing, and deployment.
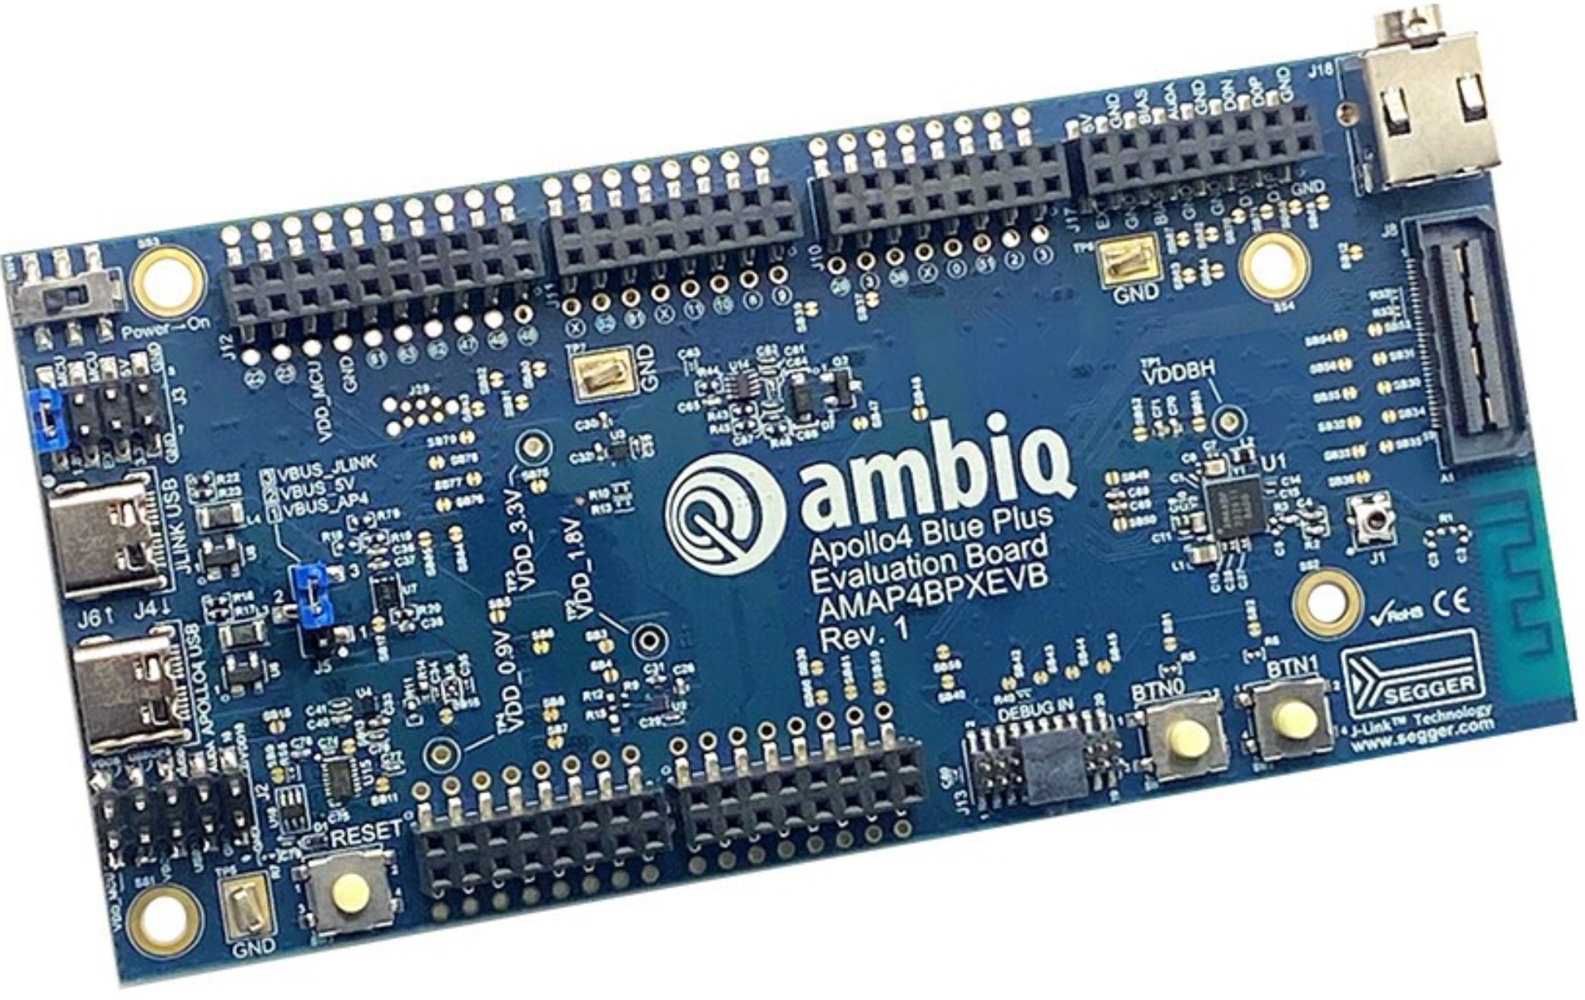
Ambiq®, the leader in low-power System-on-Chip (SoC) solutions, has once again raised the bar with the [Apollo4 Family of SoCs](https://ambiq.com/apollo4/). With the lowest dynamic and sleep mode power on the market, the Apollo4 allows designers of next-generation edge AI devices to take their innovative products to the next level. Built upon Ambiq’s proprietary Subthreshold Power-Optimized Technology (SPOT®) platform, the Apollo4 Family of SoCs is a complete hardware and software solution that enables the battery-powered endpoint devices of tomorrow to achieve a higher level of intelligence without sacrificing battery life. Edge Impulse support is available on the [Apollo4 Plus](https://ambiq.com/apollo4-plus/), [Apollo4 Blue Plus](https://ambiq.com/apollo4-blue-plus/), [Apollo4 Lite](https://ambiq.com/apollo4-lite/), and [Apollo4 Blue Lite](https://ambiq.com/apollo4-blue-lite/). See below for how to get started on the Apollo4 Plus and Apollo4 Blue Plus SoCs.
The Apollo4 Plus is built on the 32-bit Arm® Cortex®-M4 core with Floating Point Unit (FPU). With up to 2 MB of NVM and 2.75 MB of SRAM, the Apollo4 Plus has more than enough compute and storage to handle complex algorithms and neural networks while displaying vibrant, crystal clear, and smooth graphics. If additional memory is required, an external memory is supported through Ambiq’s multi-bit SPI and eMMC interfaces. The Apollo4 Plus is purpose-built to serve as both an application processor and a co-processor for battery-powered endpoint devices, including predictive health and maintenance sensors, smart home devices, livestock trackers, wrist-based wearables, smart rings, smart voice devices, and more. The Apollo4 Plus is available now in BGA packaging. The Apollo4 Blue Plus incorporates an optional BLE 5.4 radio.
 ## Deployment options
**Edge Impulse firmware**
There is a firmware deployment option in Studio for the Apollo4 Blue Plus EVB. For the other Apollo4 boards, you will need to modify and recompile the firmware found in the Edge Impulse [firmware-ambiq-apollo4](https://github.com/edgeimpulse/firmware-ambiq-apollo4) GitHub repo.
A binary containing both the Edge Impulse data acquisition client and your full impulse.
## Installing dependencies
To set this device up in Edge Impulse, you will need to install the following software:
1. [Edge Impulse CLI](/tools/clis/edge-impulse-cli/installation)
2. [Segger JLink](https://www.segger.com/downloads/jlink/)
**Problems installing the CLI?**
See the [Installation and troubleshooting](/tools/clis/edge-impulse-cli/installation) guide.
### Connecting the Apollo4 Audio Add-on Board (Models with Audio Input Only)
This step is only needed when using models requiring microphone input, such as the example below. Skip this section if you are testing other models that do not need audio input.
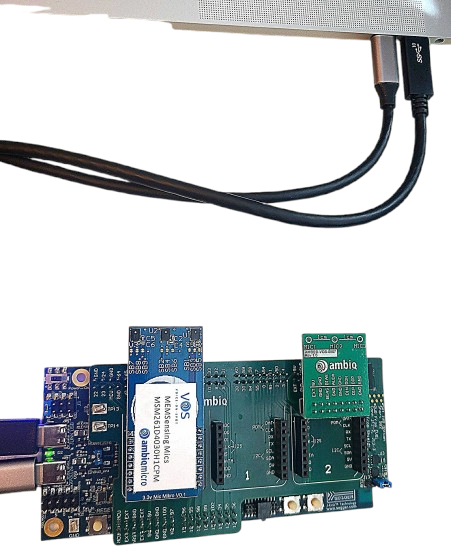
Remove the pin header protectors on the Apollo4 Plus EVB (AMAP4PEVB) or Apollo4 Blue Plus KXR EVB (AMAP4BPXEVB), and carefully plug the Apollo4 Audio Add-onBoard (AMA4AUD) into the development board. Pay special attention to the highspeed connector with film tape, which must be removed before connecting the boards. Place the digital and analog microphone modules onto the shield, as shown in the image below, and connect cables to both type-C connectors on the evaluation board.
## Deployment options
**Edge Impulse firmware**
There is a firmware deployment option in Studio for the Apollo4 Blue Plus EVB. For the other Apollo4 boards, you will need to modify and recompile the firmware found in the Edge Impulse [firmware-ambiq-apollo4](https://github.com/edgeimpulse/firmware-ambiq-apollo4) GitHub repo.
A binary containing both the Edge Impulse data acquisition client and your full impulse.
## Installing dependencies
To set this device up in Edge Impulse, you will need to install the following software:
1. [Edge Impulse CLI](/tools/clis/edge-impulse-cli/installation)
2. [Segger JLink](https://www.segger.com/downloads/jlink/)
**Problems installing the CLI?**
See the [Installation and troubleshooting](/tools/clis/edge-impulse-cli/installation) guide.
### Connecting the Apollo4 Audio Add-on Board (Models with Audio Input Only)
This step is only needed when using models requiring microphone input, such as the example below. Skip this section if you are testing other models that do not need audio input.
Remove the pin header protectors on the Apollo4 Plus EVB (AMAP4PEVB) or Apollo4 Blue Plus KXR EVB (AMAP4BPXEVB), and carefully plug the Apollo4 Audio Add-onBoard (AMA4AUD) into the development board. Pay special attention to the highspeed connector with film tape, which must be removed before connecting the boards. Place the digital and analog microphone modules onto the shield, as shown in the image below, and connect cables to both type-C connectors on the evaluation board.
 ### Connecting an ArduCam Mega 5MP SPI
This step is only needed when using models requiring camera input. Skip this section if you are testing other models that do not need camera input.
The [ArduCam Mega 5MP SPI](https://www.arducam.com/product/presale-mega-5mp-color-rolling-shutter-camera-module-with-autofocus-lens-for-any-microcontroller/) connects to the Apollo4 Plus EVB and Apollo4 Blue Plus KXR EVB pins as shown in the table below:
| Camera Pin | EVB Pin |
| - | - |
| GND | Any EVB GND |
| 5V/VDD | Any EVB 5V |
| SCK | Pin 8 |
| MISO | Pin 10 |
| MOSI | Pin 9 |
| CS | Pin 11 |
### Connecting an ArduCam Mega 5MP SPI
This step is only needed when using models requiring camera input. Skip this section if you are testing other models that do not need camera input.
The [ArduCam Mega 5MP SPI](https://www.arducam.com/product/presale-mega-5mp-color-rolling-shutter-camera-module-with-autofocus-lens-for-any-microcontroller/) connects to the Apollo4 Plus EVB and Apollo4 Blue Plus KXR EVB pins as shown in the table below:
| Camera Pin | EVB Pin |
| - | - |
| GND | Any EVB GND |
| 5V/VDD | Any EVB 5V |
| SCK | Pin 8 |
| MISO | Pin 10 |
| MOSI | Pin 9 |
| CS | Pin 11 |
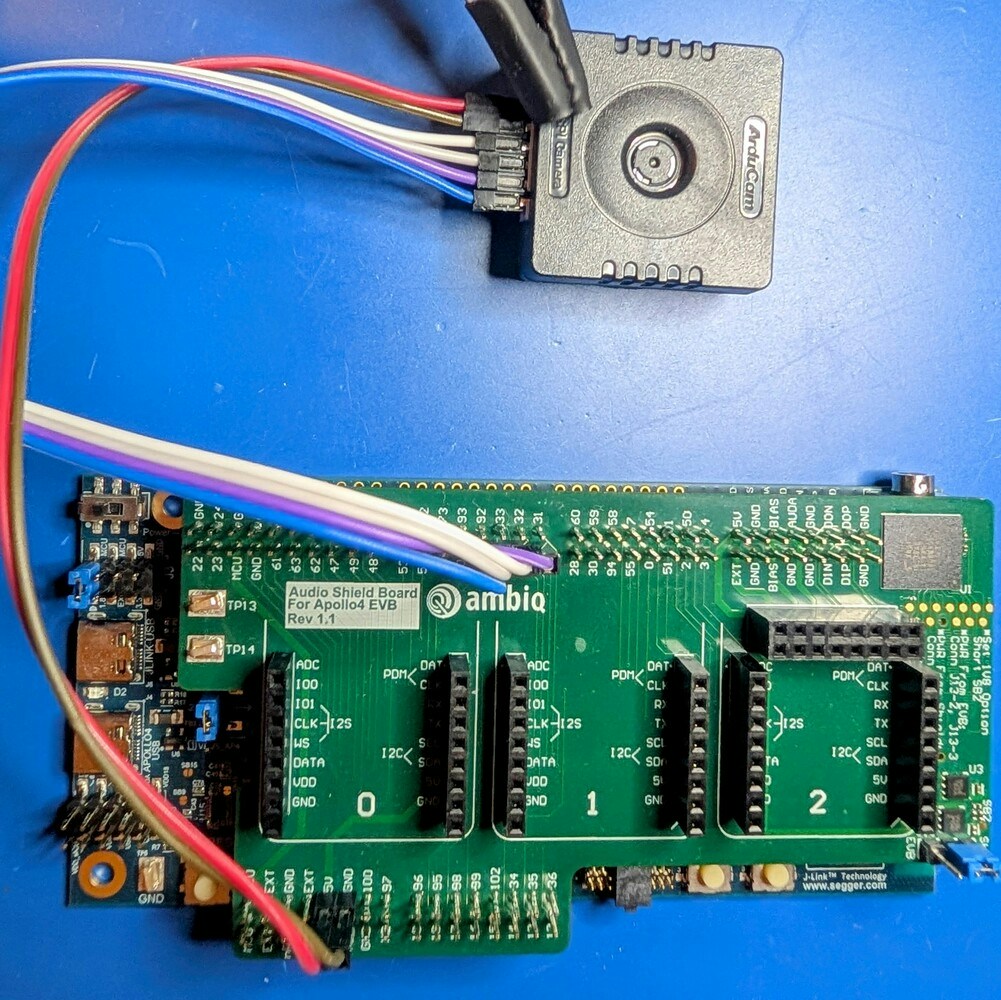 **The wiring harness provided with the camera can be sensitive, so pin jumpers or another wiring harness may help**
### Flashing pre-built firmware
Pre-built image with only audio support and "Hello World" detector example [here](https://cdn.edgeimpulse.com/build-system/ambiq-apollo4.zip)
Pre-built image with full video and audio data collection and FOMO Face detector example [here](https://cdn.edgeimpulse.com/build-system/firmware-ambiq-apollo4plus.041124.zip)
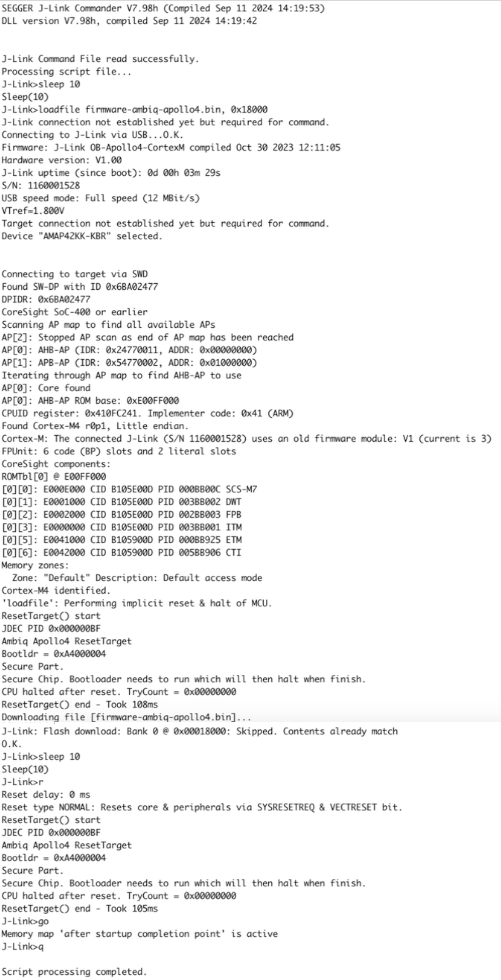
Get started by extracting the archive and choose the appropriate script for your system architecture to flash the firmware:
**The wiring harness provided with the camera can be sensitive, so pin jumpers or another wiring harness may help**
### Flashing pre-built firmware
Pre-built image with only audio support and "Hello World" detector example [here](https://cdn.edgeimpulse.com/build-system/ambiq-apollo4.zip)
Pre-built image with full video and audio data collection and FOMO Face detector example [here](https://cdn.edgeimpulse.com/build-system/firmware-ambiq-apollo4plus.041124.zip)
Get started by extracting the archive and choose the appropriate script for your system architecture to flash the firmware:
 ## Connecting to Edge Impulse
### Using the daemon
From a command prompt or terminal, run:
```
edge-impulse-daemon
```
This will start a wizard which will ask you to log in and choose an Edge Impulse project. If you want to switch projects run the command with `--clean`.
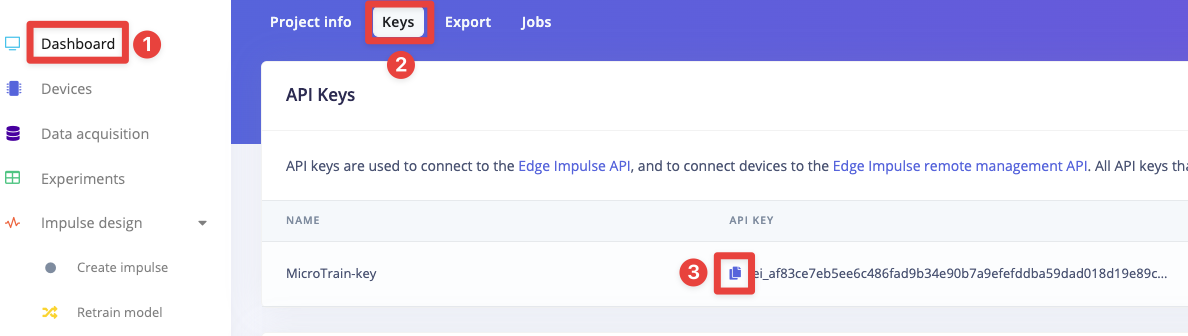
Alternatively, you can access the project API Key as shown below by navigating to the **Dashboard** section on the left pane of your Studio project and select the **Keys** tab, then click the copy/paste icon next to the API Key to copy the entire text to your clipboard, then run:
```
edge-impulse-daemon --api-key [paste your key here]
```
## Connecting to Edge Impulse
### Using the daemon
From a command prompt or terminal, run:
```
edge-impulse-daemon
```
This will start a wizard which will ask you to log in and choose an Edge Impulse project. If you want to switch projects run the command with `--clean`.
Alternatively, you can access the project API Key as shown below by navigating to the **Dashboard** section on the left pane of your Studio project and select the **Keys** tab, then click the copy/paste icon next to the API Key to copy the entire text to your clipboard, then run:
```
edge-impulse-daemon --api-key [paste your key here]
```
 ### Connecting to Studio
Run the `edge-impulse-daemon` and connect to your project, you will be prompted to name your device:
### Connecting to Studio
Run the `edge-impulse-daemon` and connect to your project, you will be prompted to name your device:
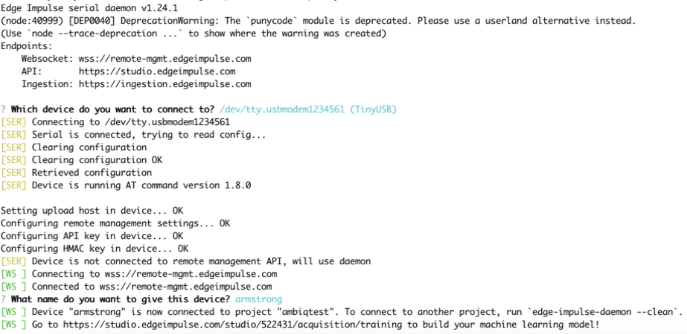 That's all! Your device is now connected to Edge Impulse. To verify this, go to [your Edge Impulse project](https://studio.edgeimpulse.com/studio/profile/projects), and click **Devices**. The device will be listed here.
 ### Collecting data
#### Audio
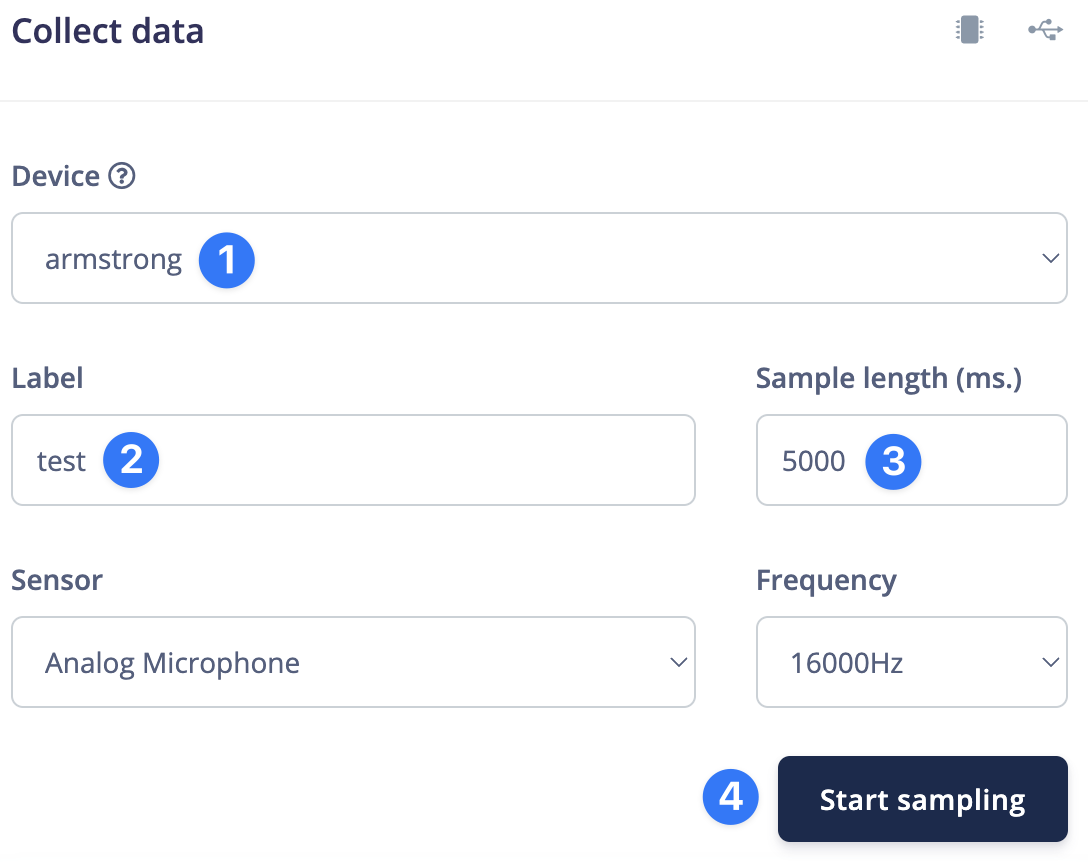
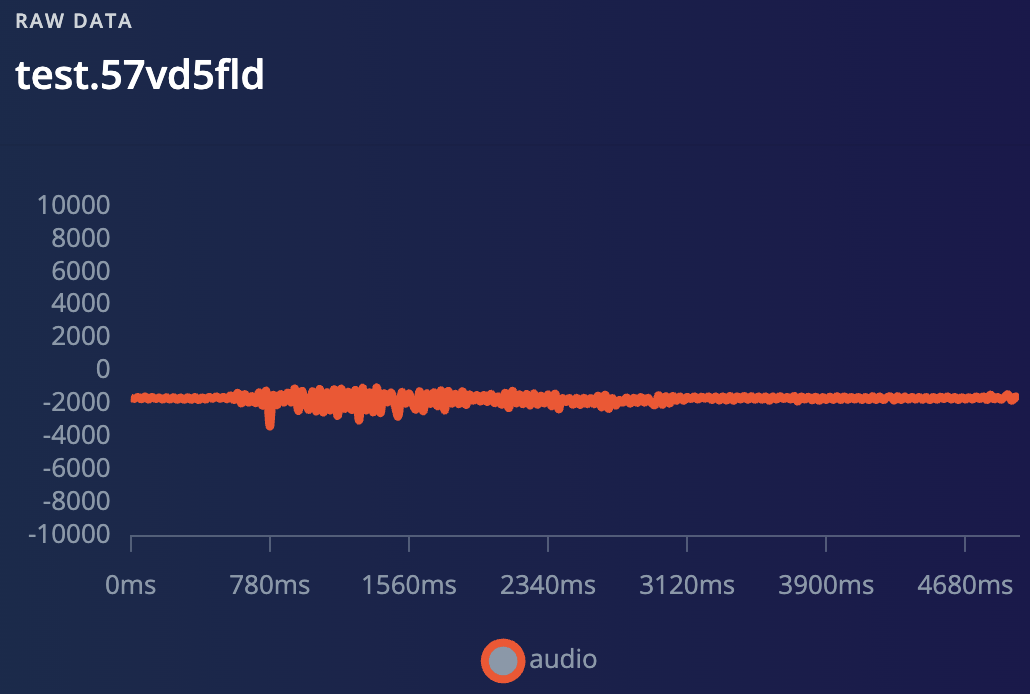
With the device connected to Studio, you can use it to collect audio data up to 5 seconds in length for training and testing your model. Navigate to the Data acquisition tab and start collecting samples:
### Collecting data
#### Audio
With the device connected to Studio, you can use it to collect audio data up to 5 seconds in length for training and testing your model. Navigate to the Data acquisition tab and start collecting samples:
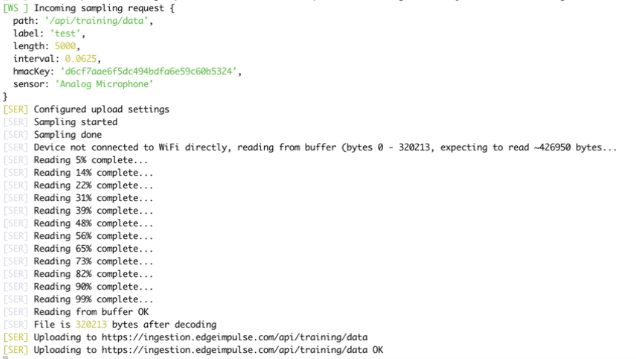
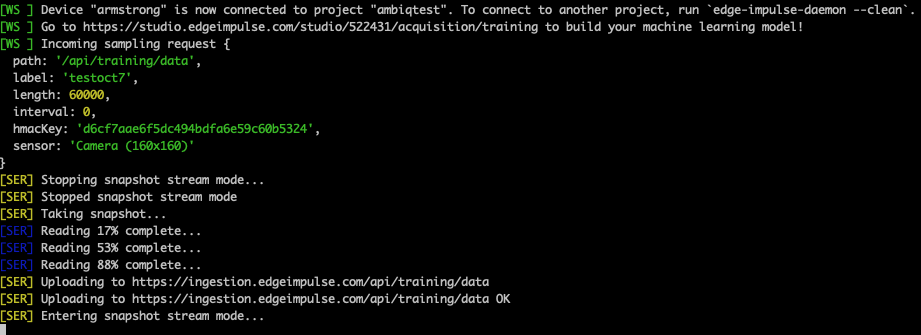
 Daemon output during sampling:
 ##### Video
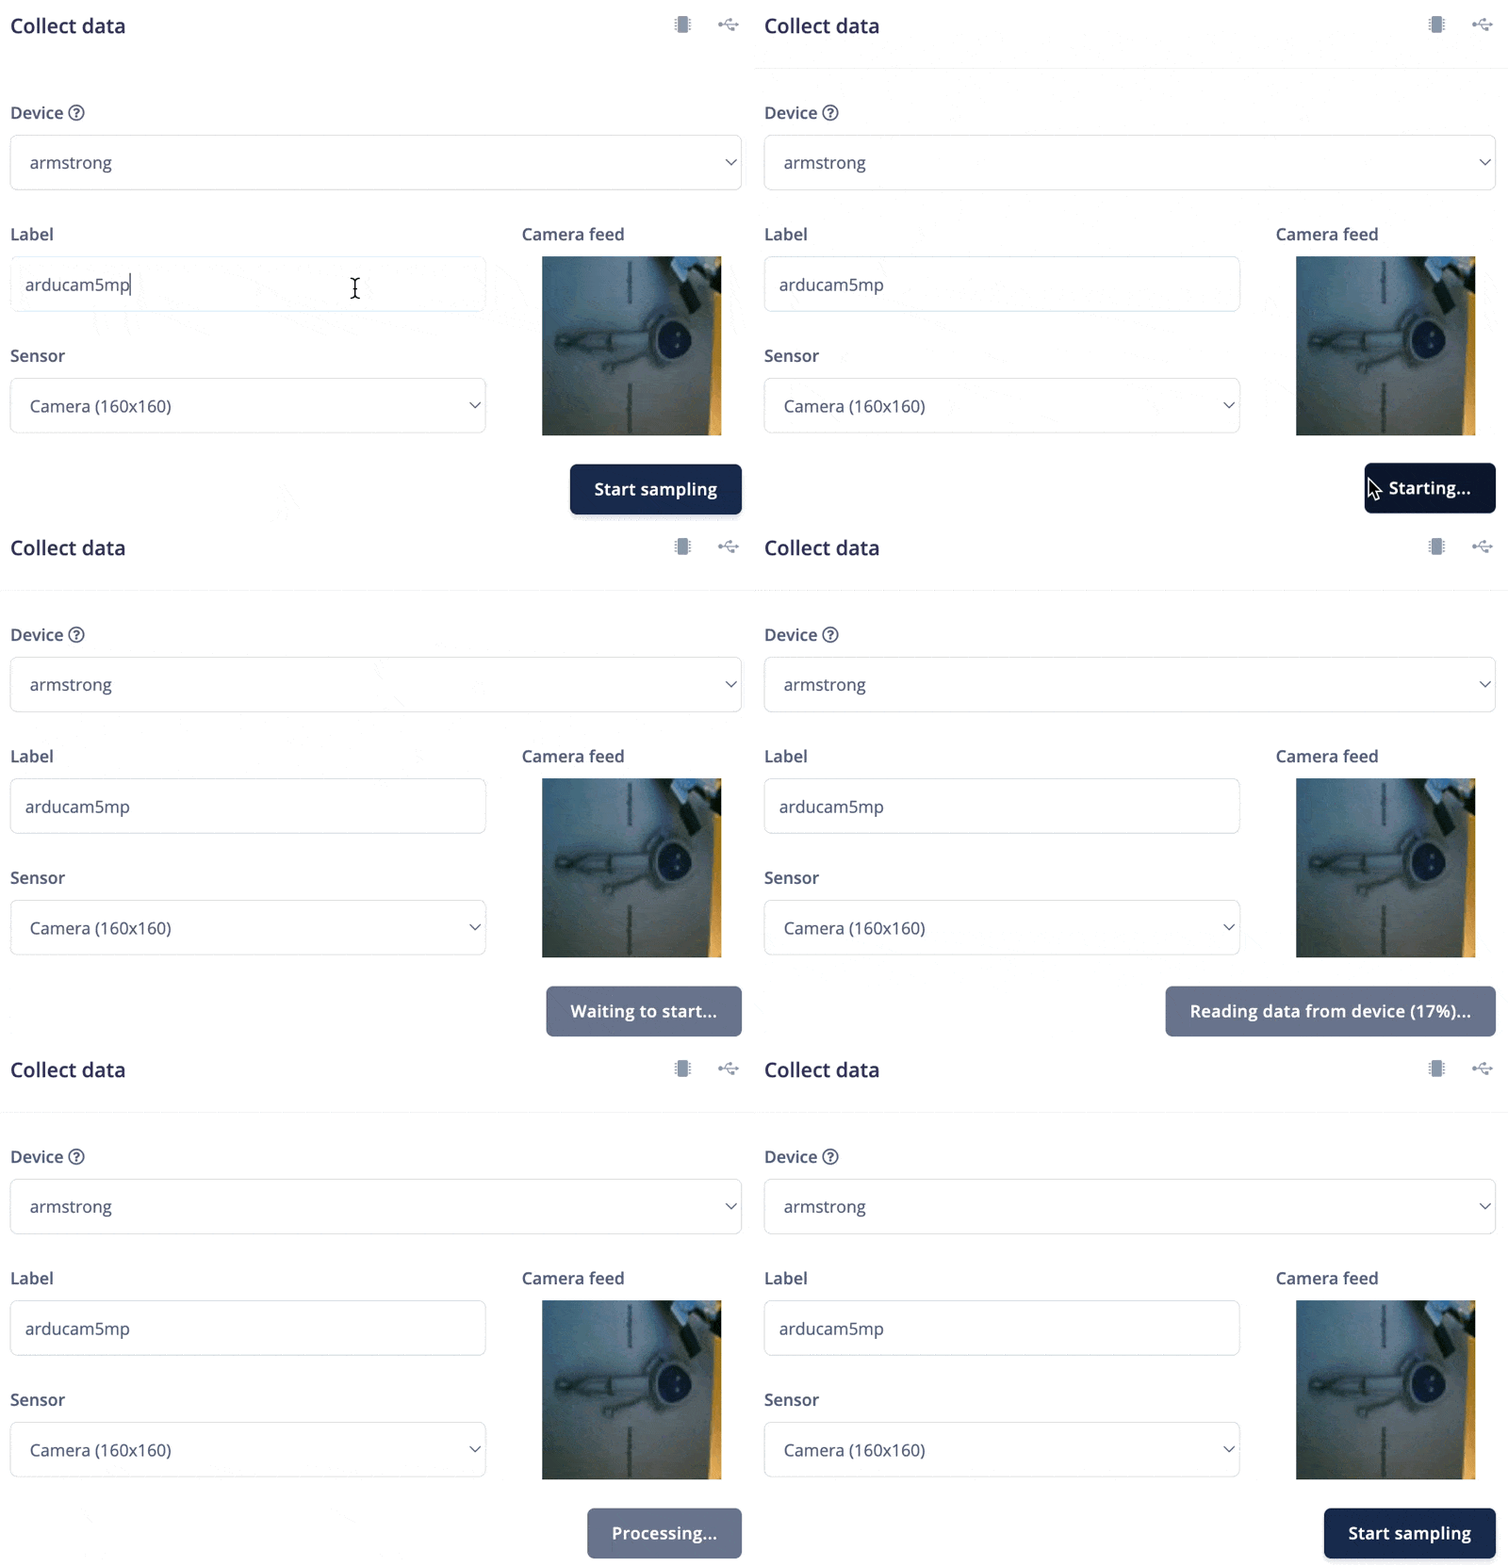
 Sampling images:
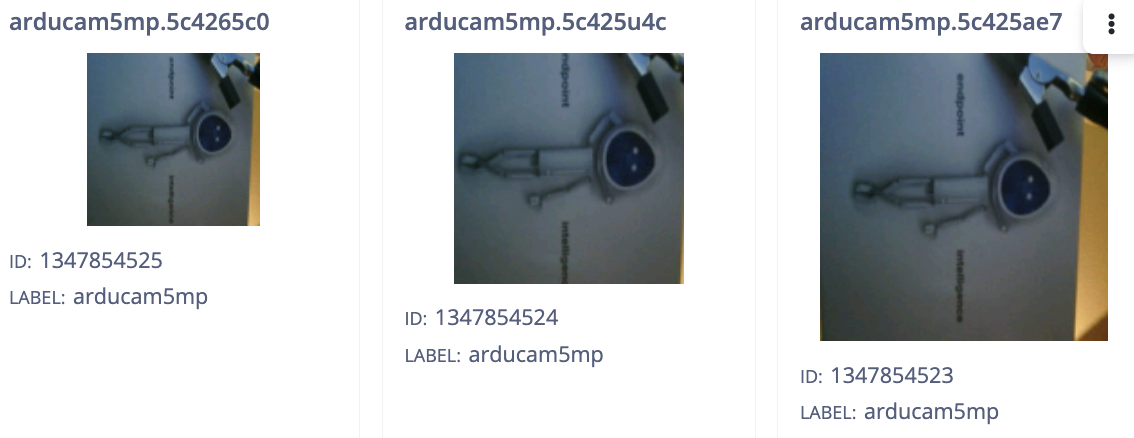
 Three supported sizes 96x96, 128x128, 160x160:
 ## Next steps: building a machine learning model
With everything set up you can now build your first machine learning model with these tutorials:
* [Recognizing sounds from audio](/tutorials/end-to-end/sound-recognition)
* [Keyword spotting](/tutorials/end-to-end/keyword-spotting)
* [Detecting objects with FOMO](/tutorials/end-to-end/object-detection-centroids)
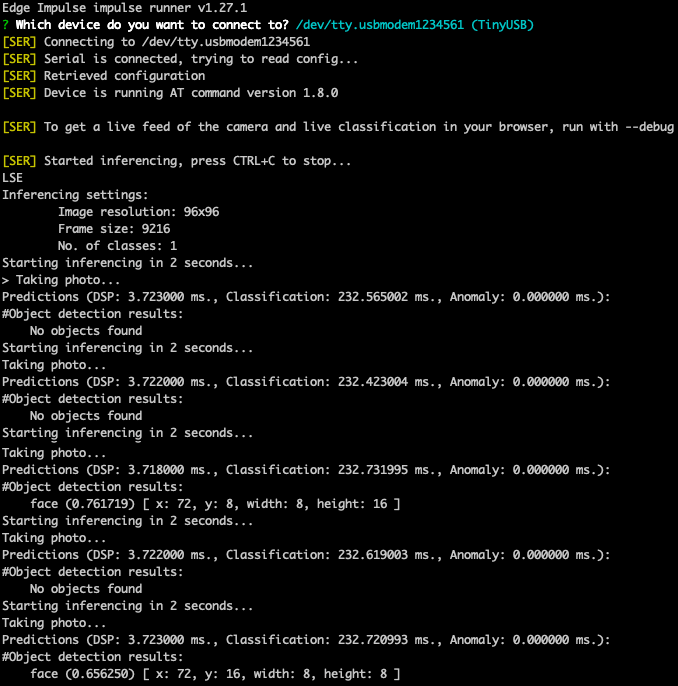
If you flashed the pre-built binary with FOMO Face Detection example from above then just connect your board and run `edge-impulse-run-impulse` to see an output similar to this:
## Next steps: building a machine learning model
With everything set up you can now build your first machine learning model with these tutorials:
* [Recognizing sounds from audio](/tutorials/end-to-end/sound-recognition)
* [Keyword spotting](/tutorials/end-to-end/keyword-spotting)
* [Detecting objects with FOMO](/tutorials/end-to-end/object-detection-centroids)
If you flashed the pre-built binary with FOMO Face Detection example from above then just connect your board and run `edge-impulse-run-impulse` to see an output similar to this:
 ### Example project
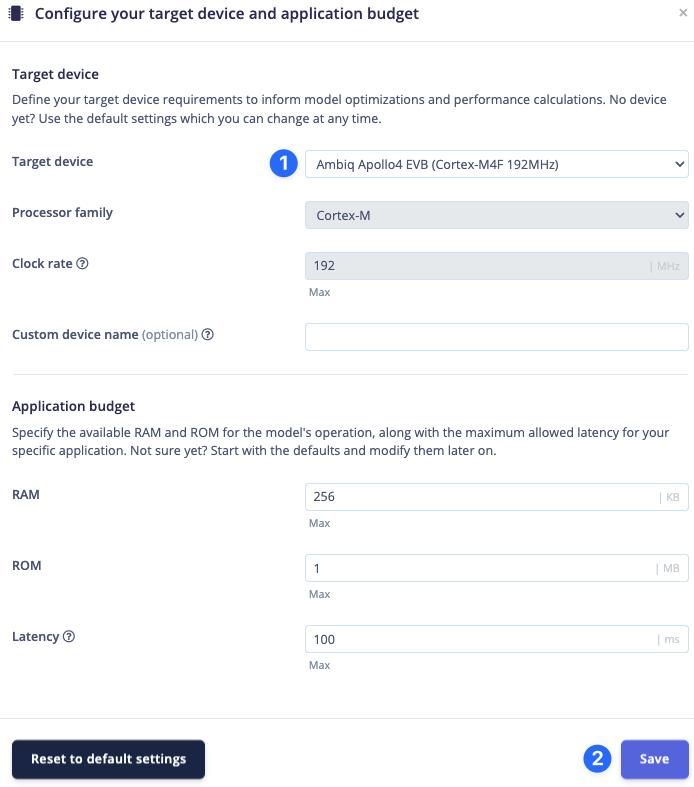
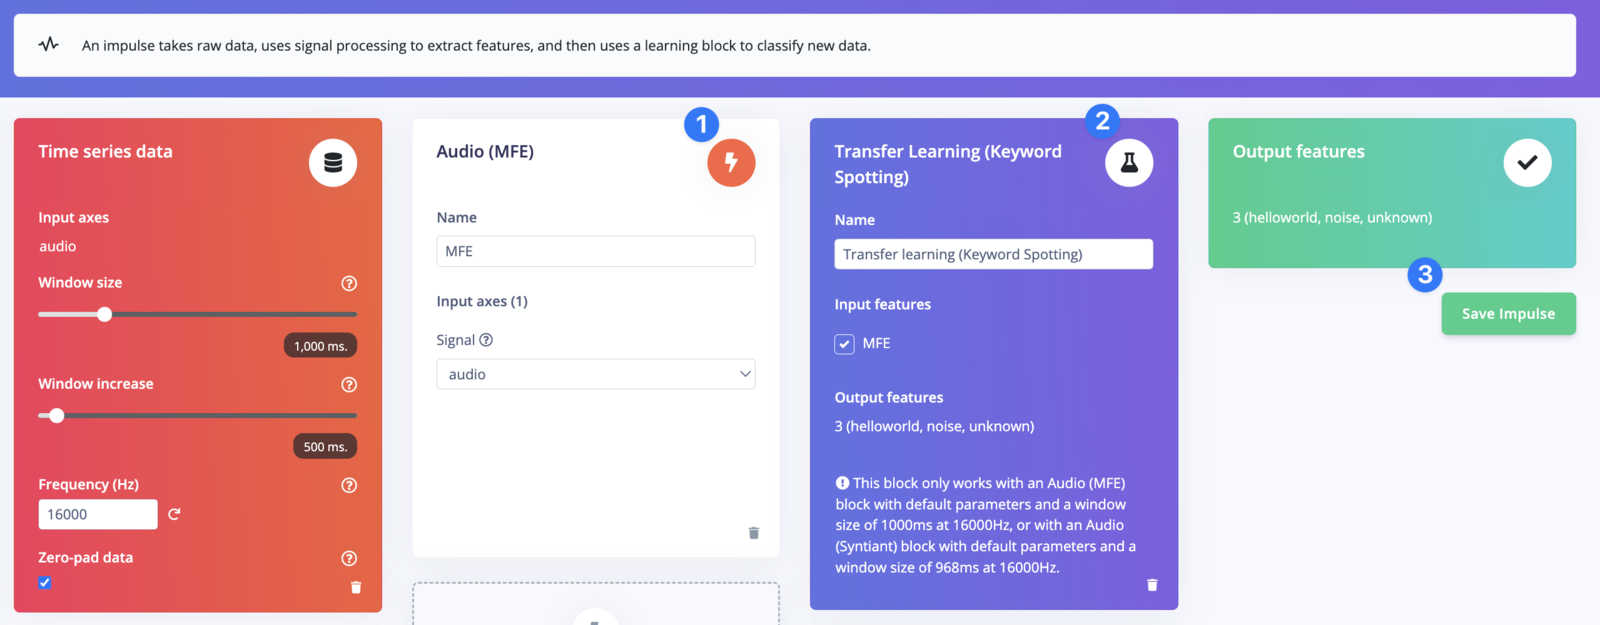
Start by going to [your Studio projects](https://studio.edgeimpulse.com/studio/profile/projects) then create a new project and navigate to the `Create impulse` section of `Impulse design`, at which point you will be prompted to select your target, choose the Apollo4 Plus:
### Example project
Start by going to [your Studio projects](https://studio.edgeimpulse.com/studio/profile/projects) then create a new project and navigate to the `Create impulse` section of `Impulse design`, at which point you will be prompted to select your target, choose the Apollo4 Plus:
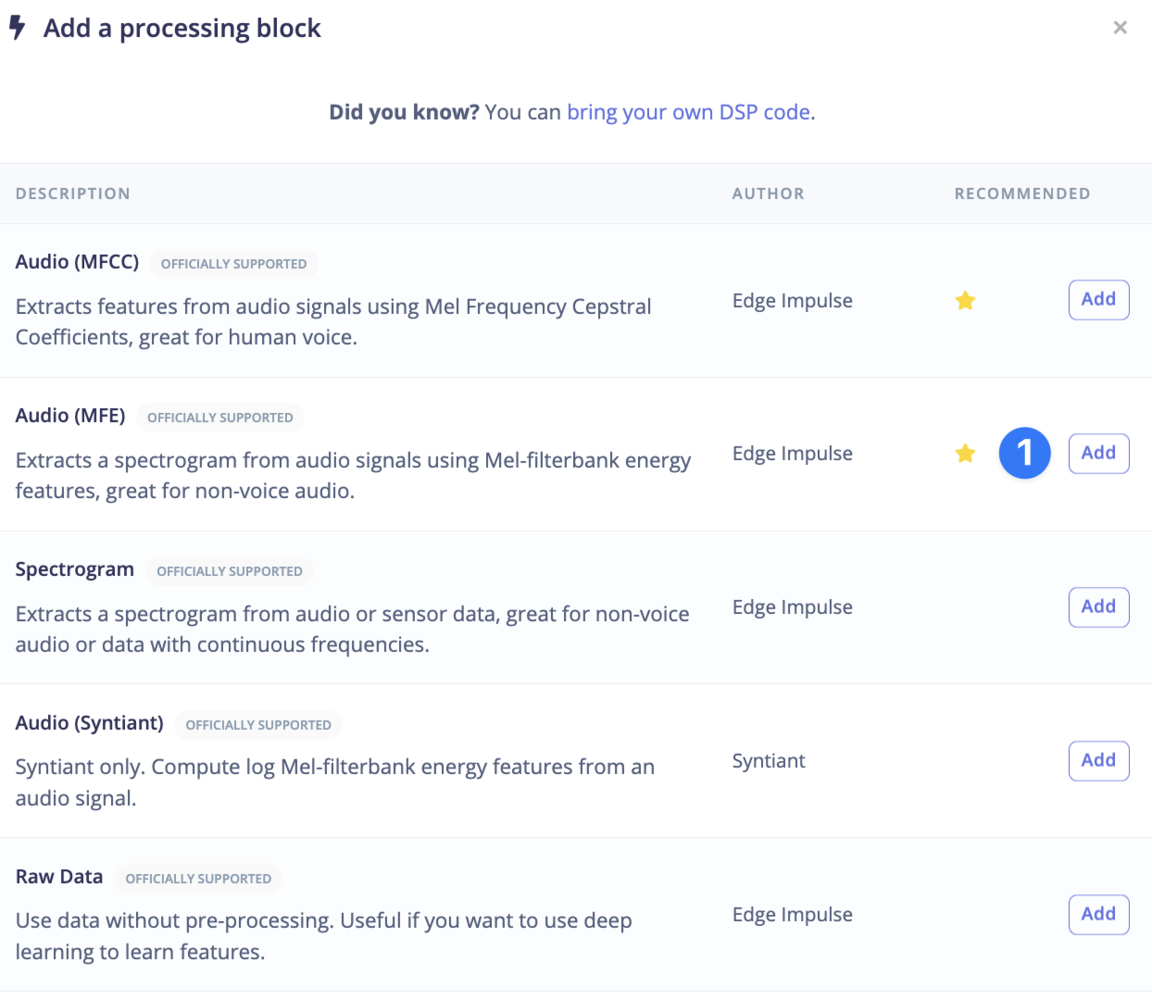
 Then add the DSP block:
 Then the keyword spotting learn block:
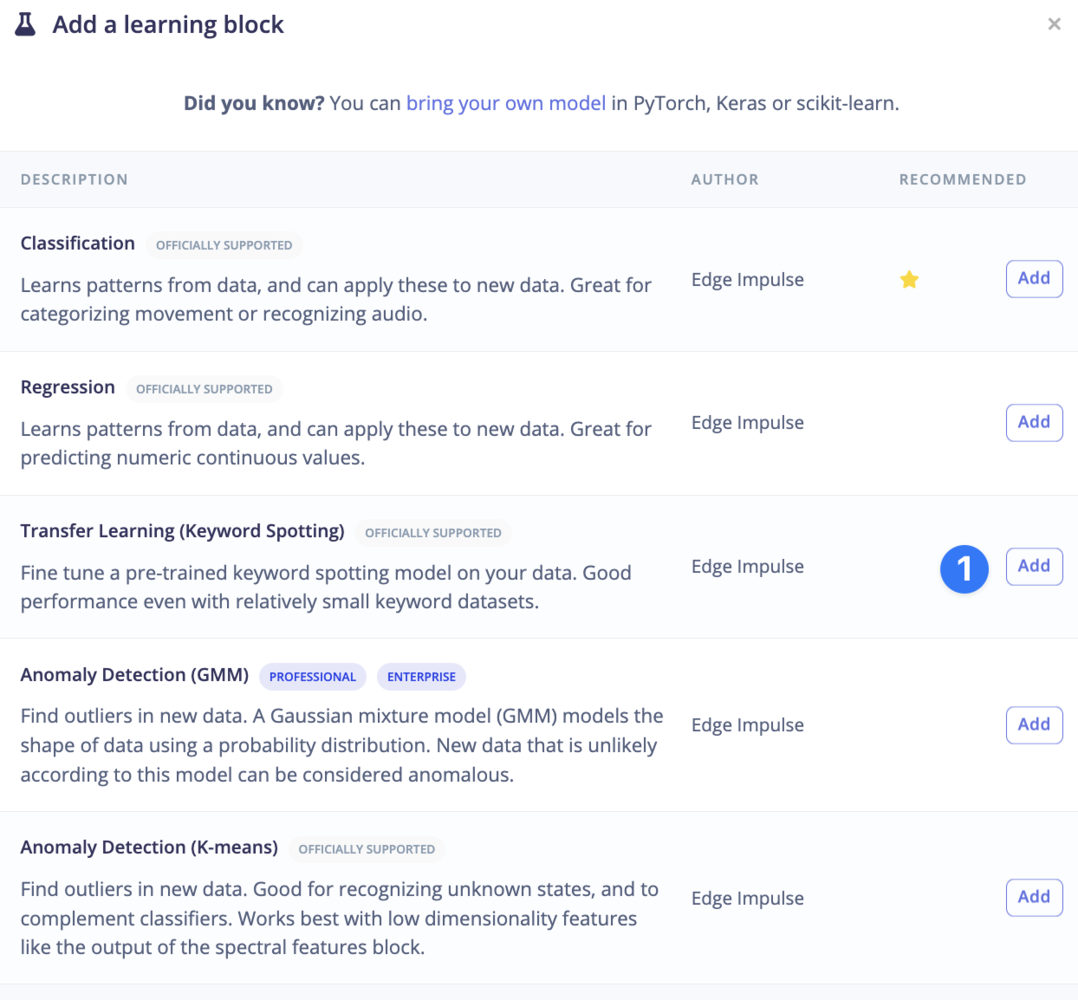 And finally save the impulse:
 #### Processing
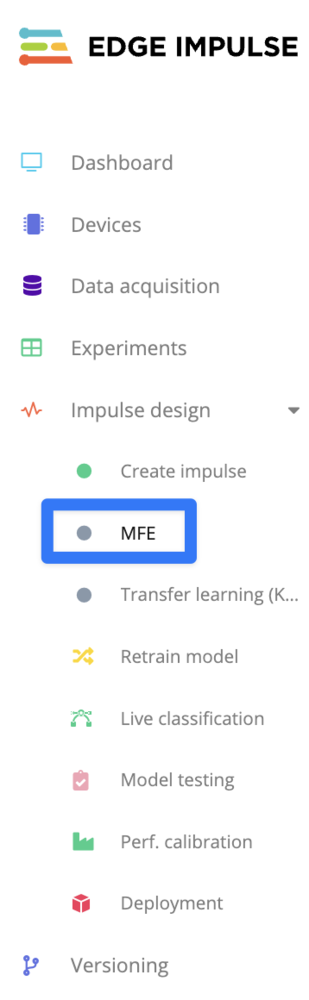
Now select the DSP block:
#### Processing
Now select the DSP block:
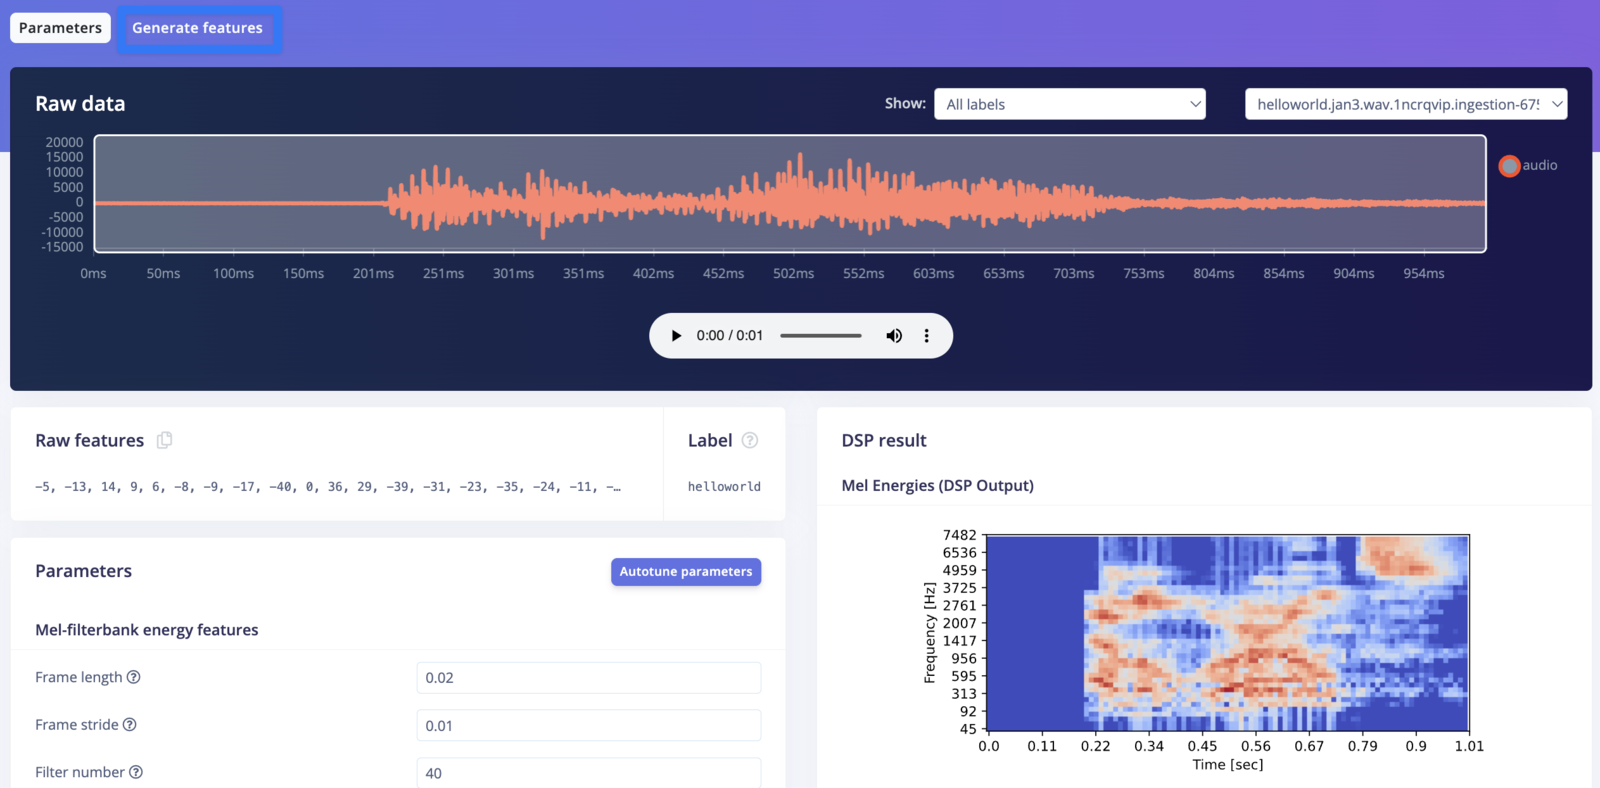
 And go to `Generate features`:
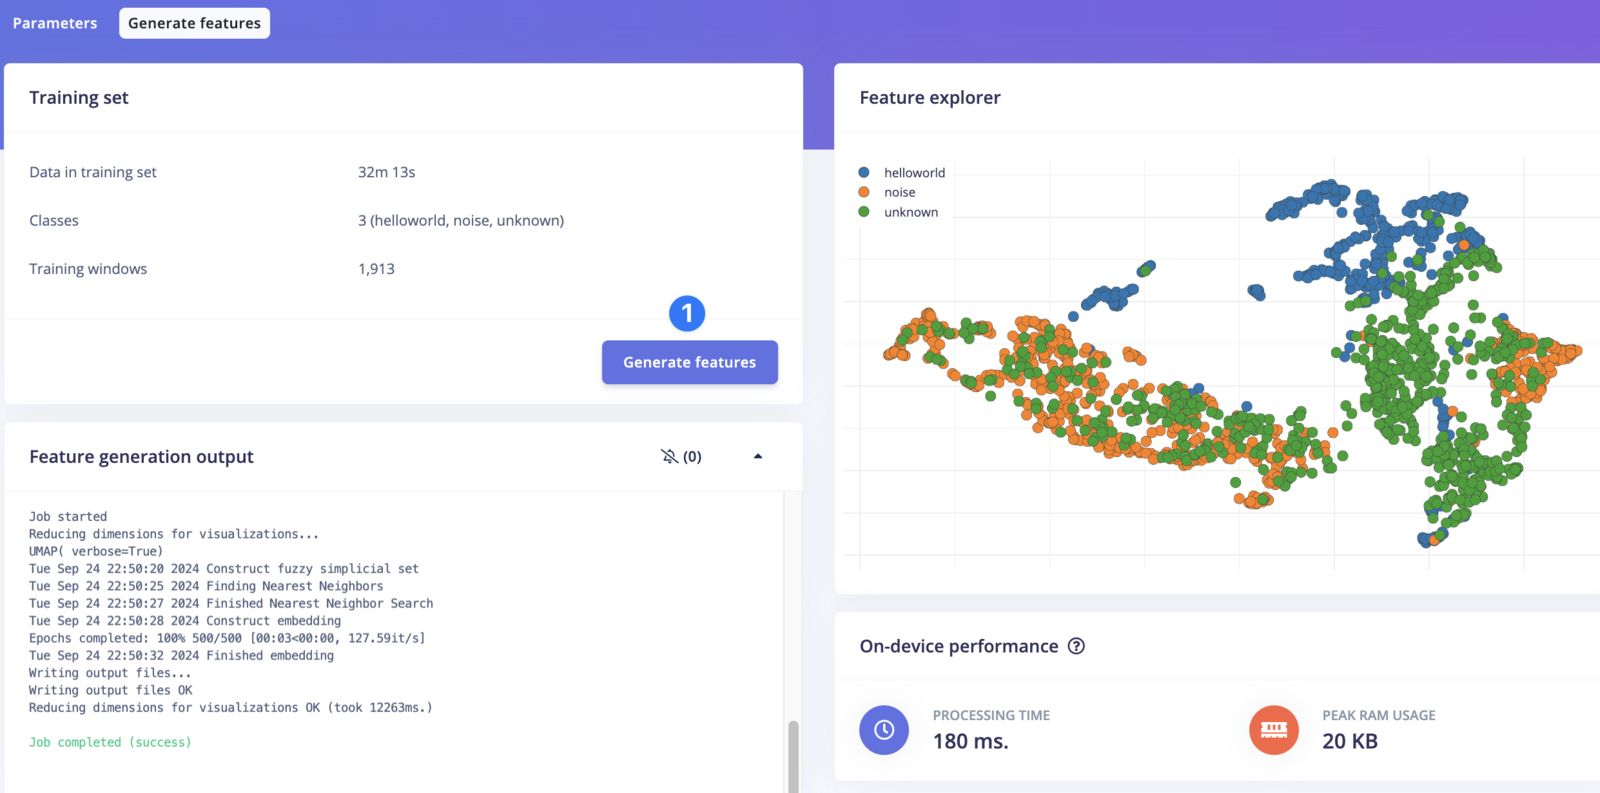
 Click the button and wait for the job to finish, when it does you'll see something like this:
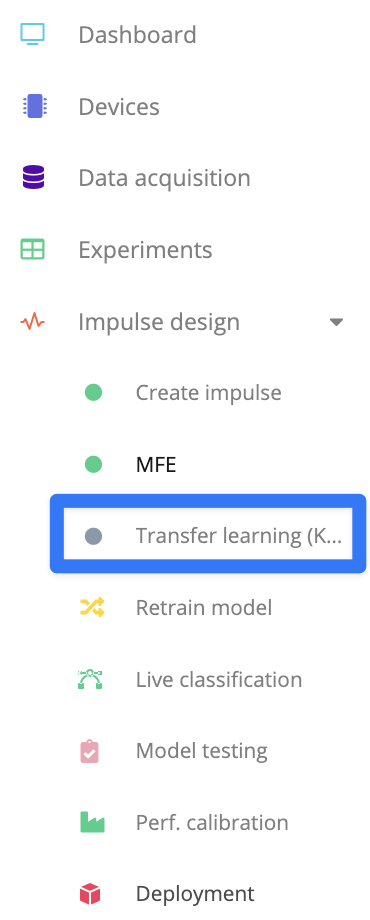
 #### Training
Select the learning block:
#### Training
Select the learning block:
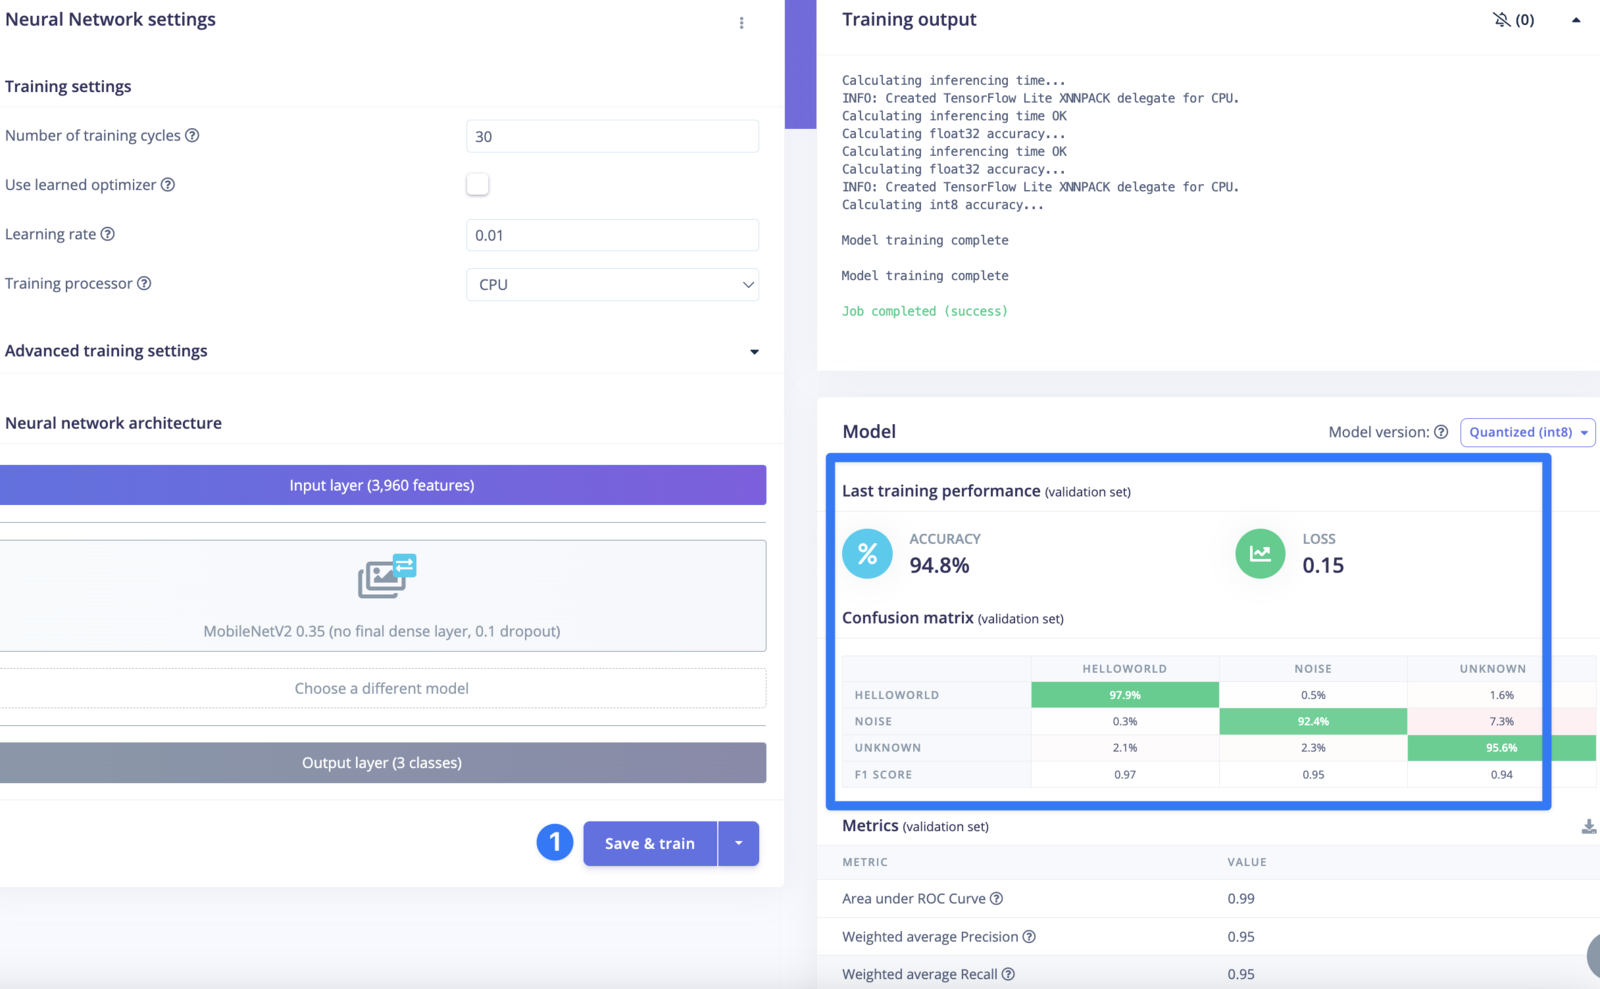
 Then click `Save & train` and you'll eventually see an output like this:
 #### Testing
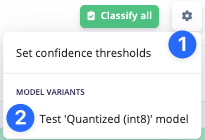
Go to the `Model testing` section and enable int8 testing:
#### Testing
Go to the `Model testing` section and enable int8 testing:
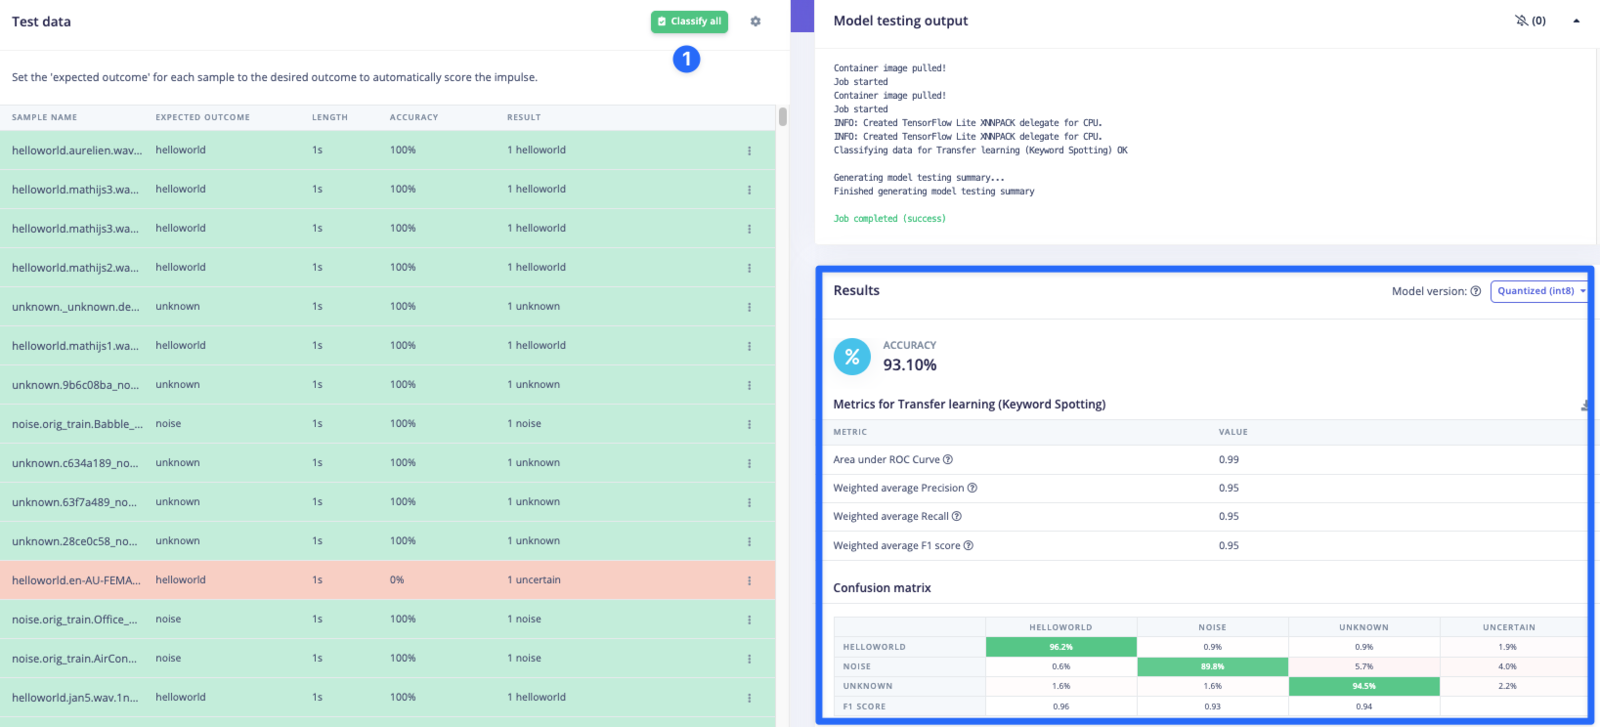
 And run the test:
 #### Deploying
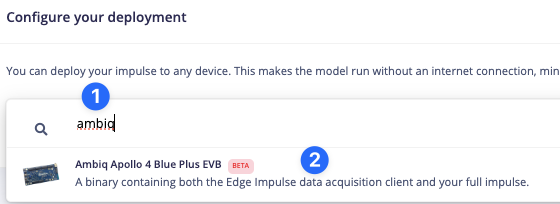
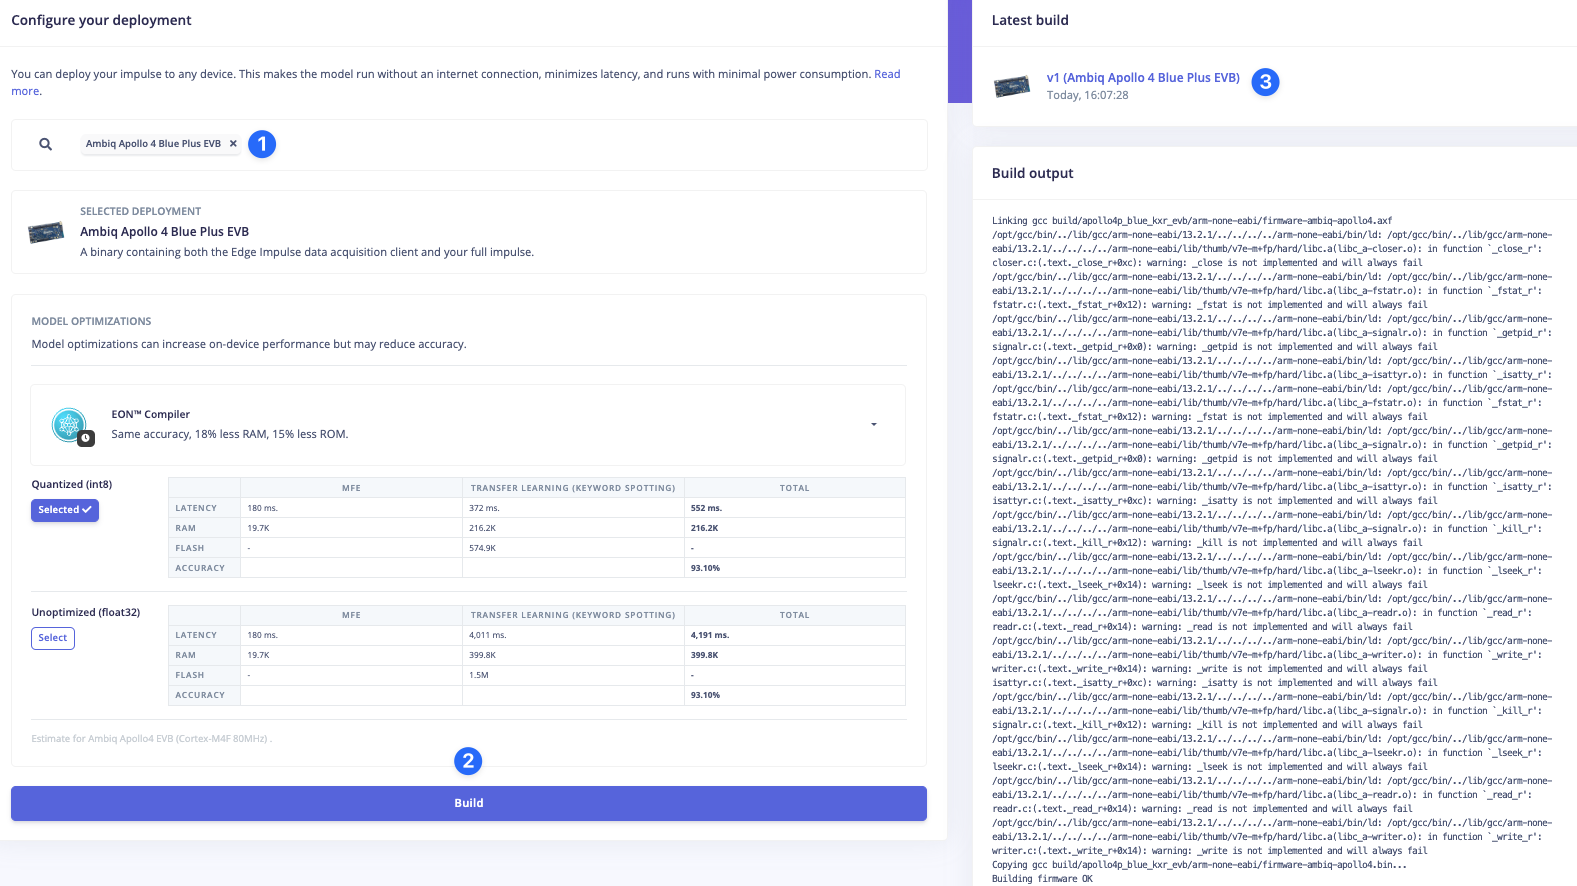
Navigate to the `Deployment` section and choose the **Apollo4 Blue Plus**:
#### Deploying
Navigate to the `Deployment` section and choose the **Apollo4 Blue Plus**:
 Now click `Build` and wait for the job to finish, when it does a zip archive will be downloaded to your computer:
 #### Flashing
See the previous section on flashing the board.
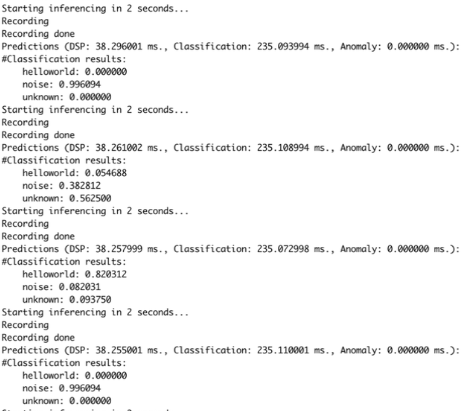
#### Running the impulse
You can run your impulse by using `edge-impulse-run-impulse`:
#### Flashing
See the previous section on flashing the board.
#### Running the impulse
You can run your impulse by using `edge-impulse-run-impulse`:
 ## Troubleshooting
If you have problems with the flashing script make sure you are using USB cables with data and not just power-only cables.
Reach out to us on the [forum](https://forum.edgeimpulse.com/) and have fun making machine learning models on the [Apollo4 Family of SoCs](https://ambiq.com/apollo4/) from Ambiq!
## Troubleshooting
If you have problems with the flashing script make sure you are using USB cables with data and not just power-only cables.
Reach out to us on the [forum](https://forum.edgeimpulse.com/) and have fun making machine learning models on the [Apollo4 Family of SoCs](https://ambiq.com/apollo4/) from Ambiq!